Easy DIY Fabric Flower Bowl: Free Step-by-Step Pattern
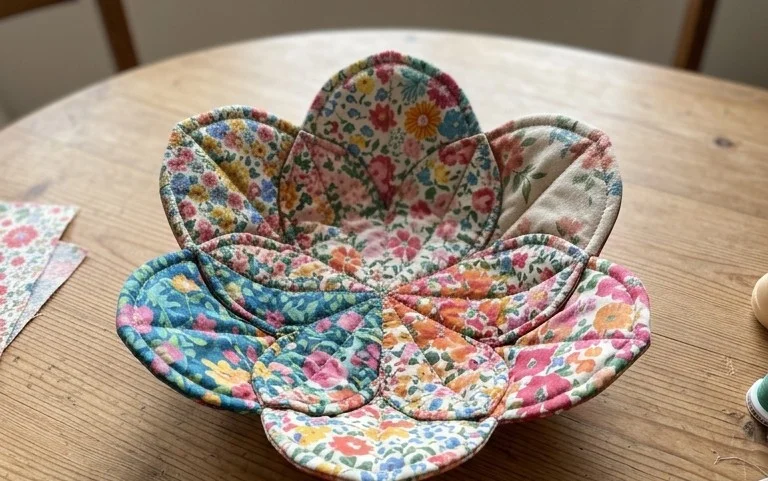
Stiff cotton cord coils into a bowl that mimics the soft, layered petals of a blooming flower, adding a natural warmth to any bedside table or desk. This project feels substantial in your hands, offering a tactile way to organize small daily essentials like hair ties, loose coins, or incoming mail. It is a rewarding project for beginners because you gain immediate results from simple, continuous stitches. You will master the process of increasing in a tight spiral to build a base that refuses to sag or lose its shape. Your finished bowl will feel sturdy enough for years of heavy daily use.
Why This Project Is Worth Making
The Classic Crochet Storage Basket is a functional home accessory that provides sturdy organization for yarn scraps, small toys, or craft notions. This design utilizes a dense stitch pattern that allows the basket to stand upright on its own without needing a plastic liner or stiffener. Because it works up quickly using a bulky weight yarn, you can complete the entire project in a single afternoon. The simple, repetitive nature of the stitches makes it an ideal project for practicing consistent tension while working in continuous rounds.
I finally found a basket pattern that does not collapse under the weight of my yarn cakes. The thick yarn choice makes it feel very durable for daily use in my craft room.
— Sarah, home organizer
Pattern Overview & Skill Level
- Skill Level: Beginner
- Approximate Time: 2 to 3 hours
- Construction: Working in continuous spiral rounds from the base up to the sides
- Finished Dimensions: 8 inches diameter by 6 inches height
Materials & Supplies Needed
- Yarn: Bulky weight (#5), cotton or cotton-blend cord, approximately 200 yards. Cotton provides the best structural integrity for home decor items.
- Hook Size: 6.0 mm (J-10)
- Notions: Stitch marker to track the start of rounds, yarn needle for weaving ends, scissors.
- Safe yarn substitutions: You may use two strands of worsted weight (#4) cotton yarn held together to achieve the same gauge and rigidity as a single strand of bulky cord. Using acrylic yarn will result in a softer, slouchier basket that may not hold its shape as effectively as cotton.
Stitch Guide & Abbreviations (US Terms)
- ch = chain
- st/sts = stitch/stitches
- sc = single crochet
- inc = 2 sc in the same stitch (increase)
- sl st = slip stitch
- BLO = Back Loop Only. Insert your hook only under the back loop of the stitch instead of both loops. This creates a distinct ridge that helps the basket sides transition upward from the base.
Step-by-Step Pattern Instructions
Basket Base
The base is worked in a flat circle using standard increase increments to keep it laying perfectly level.
- Rnd 1: Start with a magic ring. Work 6 sc into the ring. (6 sts)
- Rnd 2: Inc in each st around. (12 sts)
- Rnd 3: *Sc 1, inc in next st; repeat from * 6 times. (18 sts)
- Rnd 4: *Sc 2, inc in next st; repeat from * 6 times. (24 sts)
- Rnd 5: *Sc 3, inc in next st; repeat from * 6 times. (30 sts)
- Rnd 6: *Sc 4, inc in next st; repeat from * 6 times. (36 sts)
- Rnd 7: *Sc 5, inc in next st; repeat from * 6 times. (42 sts)
- Rnd 8: *Sc 6, inc in next st; repeat from * 6 times. (48 sts)
Basket Sides
This section transitions the flat base into vertical walls.
- Rnd 9: Working in BLO, sc in each st around. (48 sts)
- Rnd 10-20: Working in both loops, sc in each st around. (48 sts)
Finishing
To finish the top edge, work one round of slip stitches loosely around the final row. This reinforces the rim and prevents it from stretching out over time. Fasten off, leaving a 6-inch tail. Use the yarn needle to weave the remaining end through the stitches of the final round on the interior side, knotting it securely to ensure the basket remains sturdy.
Care & Washing Instructions
- Hand wash in cold water using a gentle detergent to maintain the shape of the fibers.
- Gently squeeze out excess water with a towel; do not wring or twist the basket as this can distort the crochet stitches.
- Lay the basket flat on a clean surface or drying rack to air dry completely, ensuring the base is pressed into a flat circle.
Pro Tips & Common Mistakes to Avoid
When working with bulky cotton cord, keep your tension tight to ensure the basket walls are thick and structural. If your stitches are too loose, the basket may sag or lean to one side. Always place a stitch marker at the first stitch of every round to avoid losing your place in the spiral; without one, the rounds will shift and the basket will lose its symmetry. To weave in your ends invisibly, split the plys of the yarn and pull them through the base of the nearest stitch before tying a knot, as this hides the bulk of the yarn tail. If you wish to make the basket larger, add more increase rounds to the base, ensuring you maintain a multiple of 6 stitches per increase round, but remember that a larger base requires more yardage to maintain the same height.
Frequently Asked Questions
Can I use acrylic yarn for this basket instead of cotton?
You can use acrylic, but the finished product will be much softer and prone to collapsing. If you choose acrylic, select a firm, tightly twisted variety to provide as much stability as possible.
How do I adjust the height of the basket?
You can adjust the height by adding or subtracting rounds in the sides section. Simply repeat the instructions for the sides until you reach your desired height before finishing with the slip stitch round.
Is this pattern suitable for someone who just learned how to crochet?
This pattern is excellent for beginners because it relies on the single crochet stitch, which is usually the first stitch taught. The most challenging part is the transition to the sides, but the BLO technique is clearly marked.
Can I sell baskets I make from this pattern?
You are welcome to sell finished items created from this pattern. Please provide credit to the designer in your product listings to support the continued creation of new patterns.
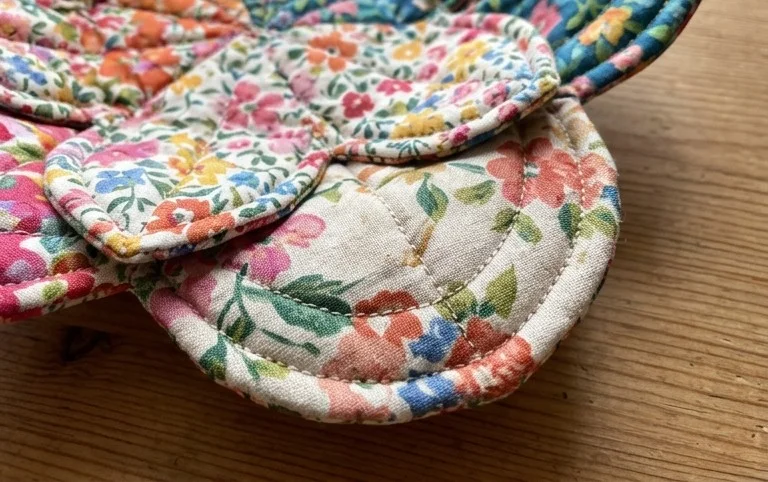
Your new fabric-style bowl is ready to hold your small treasures and bring a sense of order to your craft corner. You might consider using a variegated cord or a double strand of contrasting colors to create a bold, petal-like effect on the side panels. Please share a photo of your finished work on social media so others can see how your color choices turned out. We invite you to browse our archive for more free patterns to build your collection of handmade home organizers throughout the coming months.