5 Easy Sampler Blanket Patterns: Free Step-by-Step Guide
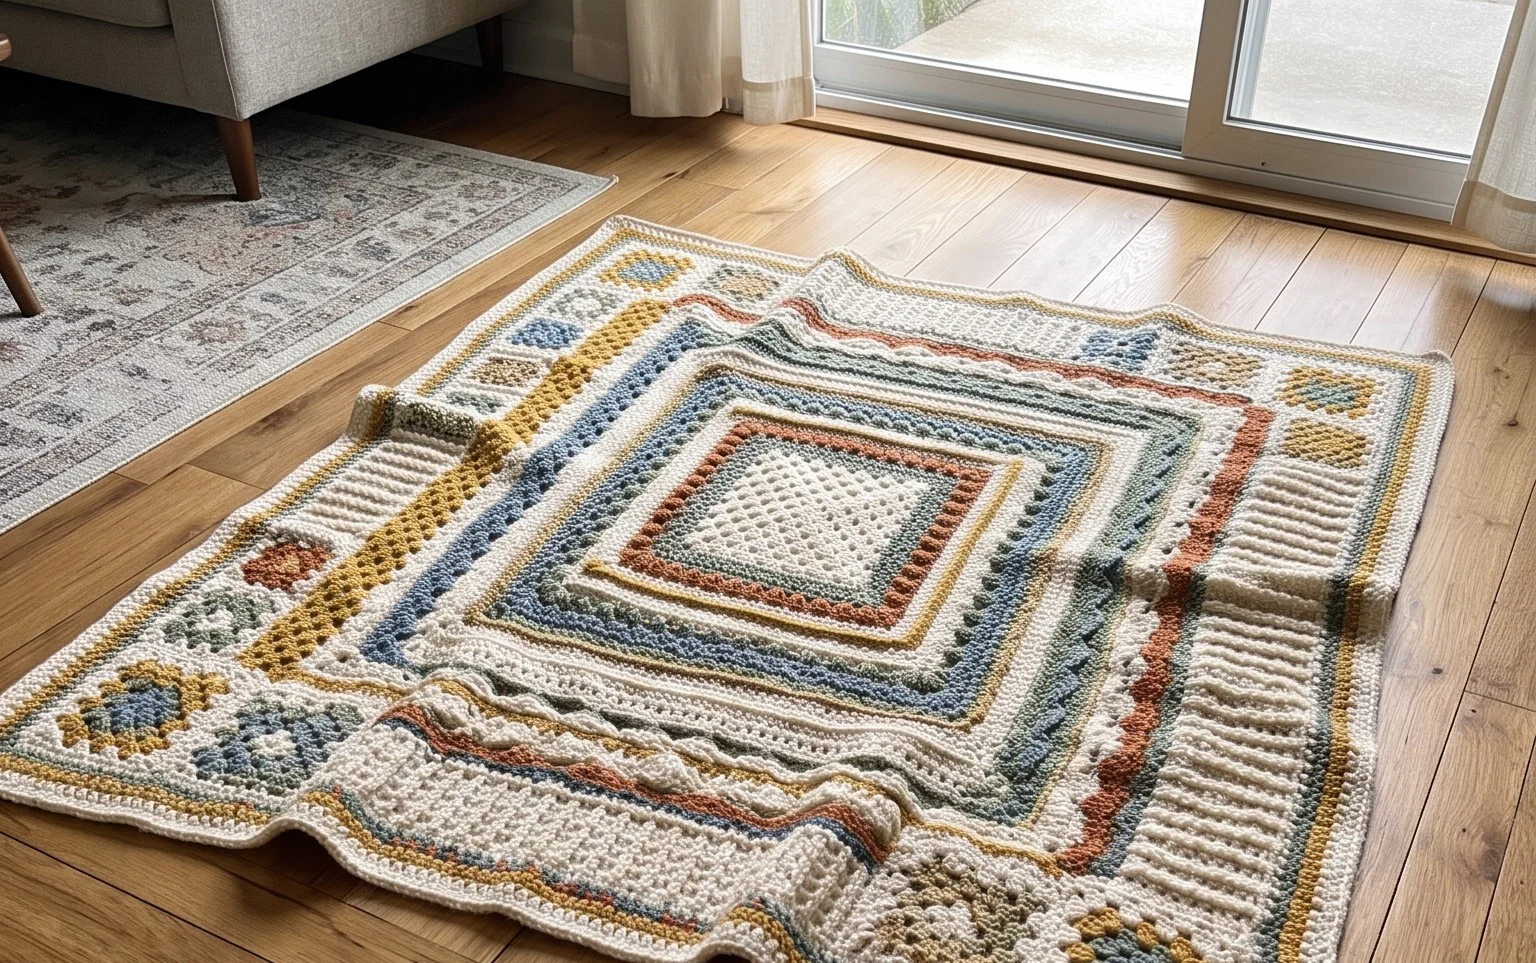
A handmade sampler blanket carries the weight of a well-loved heirloom, feeling both squishy and substantial against your lap on a cold evening. These blankets combine distinct stitch patterns into one cohesive piece, which keeps the process engaging enough for any maker who tires of long, repetitive rows. You will move through various textures, from tight moss stitches to airy lace shells, creating a finished throw that looks custom-made for your living room couch. This collection introduces five distinct designs that help you master new techniques while building a project you will actually want to display in your home for years.
Why This Project Is Worth Making
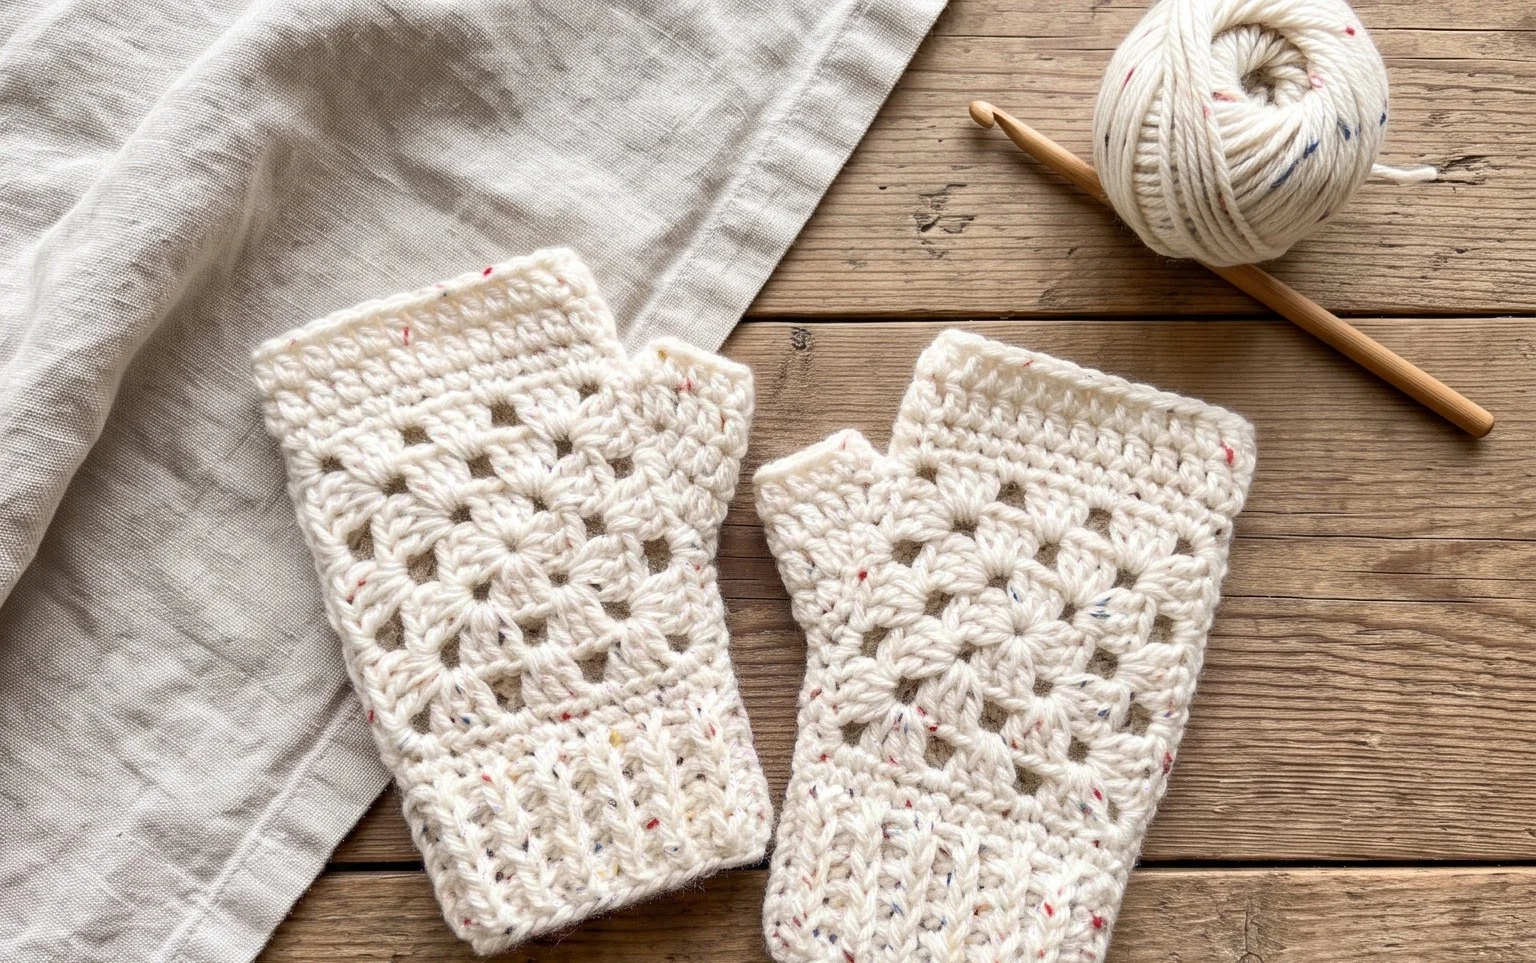
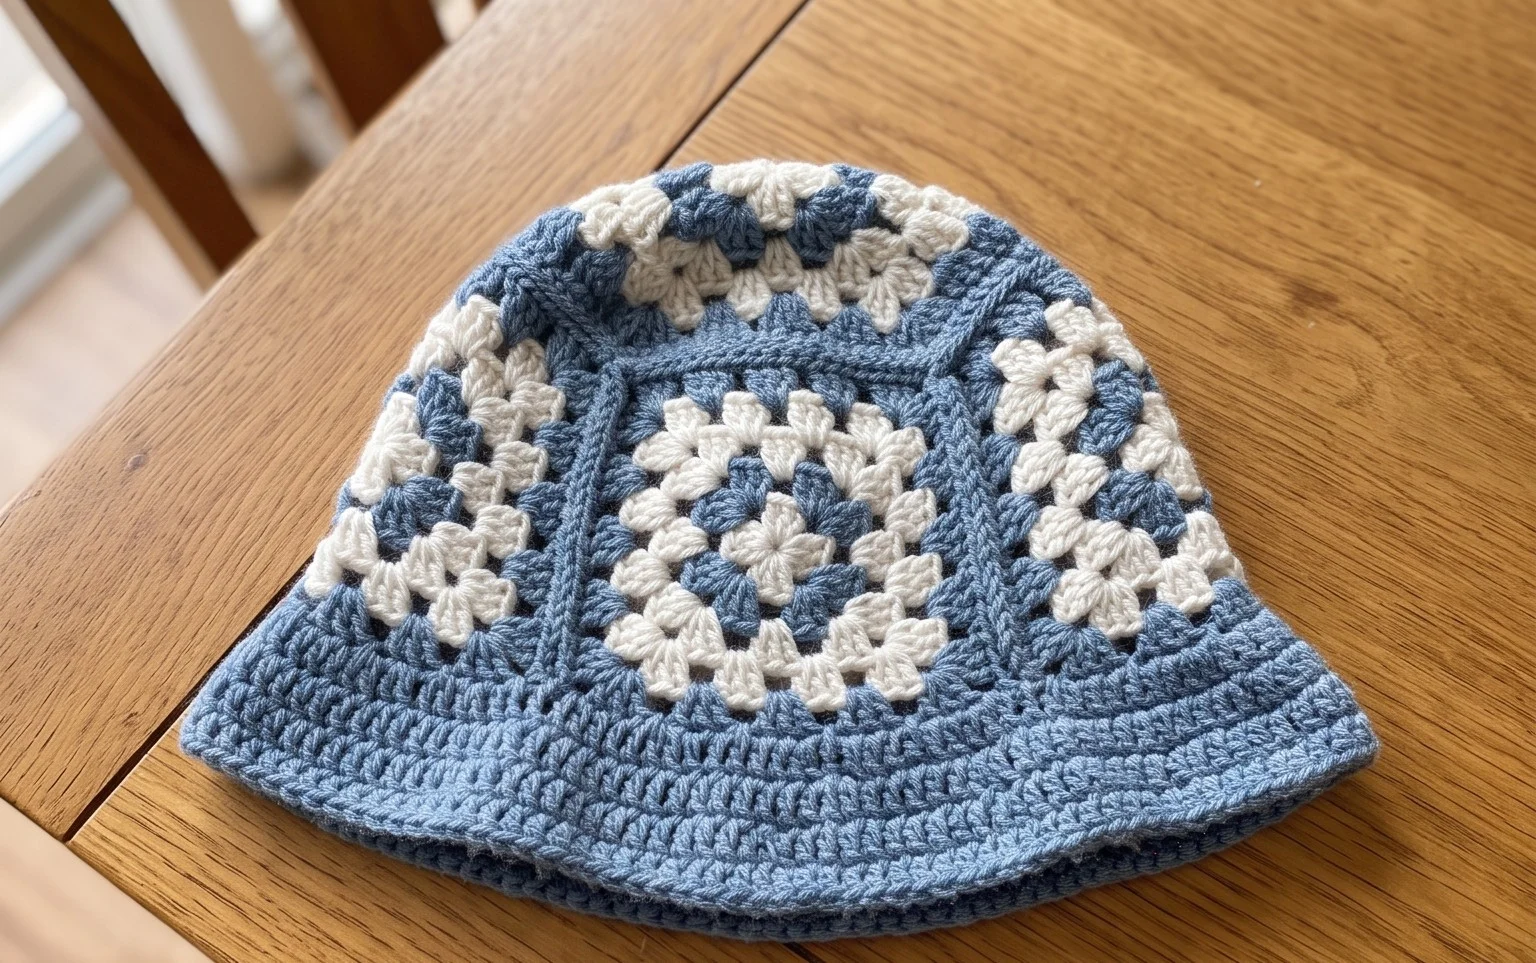
The Classic Crochet Granny Square is the fundamental building block of crochet design. This specific version uses a traditional three-double-crochet cluster technique, creating a dense but airy fabric that works perfectly for blankets, bags, or decorative pillows. Because it is worked in rounds from the center outward, you can stop at any size to fit your specific needs. It serves as an excellent way to practice tension control while working with multiple colors or leftover yarn scraps.
You will enjoy this project because it relies on a repetitive, meditative stitch sequence that is easy to memorize after only a few rounds. The design is highly portable, allowing you to carry a single square and your hook for quick sessions during commutes or appointments. It also offers immediate gratification as each finished square feels like a distinct accomplishment.
I finally learned to crochet by making these squares for a baby blanket. The instructions made sense immediately, and I was able to finish a pile of them in a single weekend without any frustration.
— Sarah, beginner crafter
Pattern Overview & Skill Level
- Skill Level: Beginner
- Approximate Time: 30 to 45 minutes per square
- Construction: Working in joined rounds, starting from a center point and expanding outward
- Finished Dimensions: Approximately 6 inches by 6 inches when using the recommended yarn and hook size
Materials & Supplies Needed
- Yarn: Worsted weight (#4), 100% acrylic or wool blend, approximately 20 yards per square.
- Hook Size: 5.0 mm (US H-8).
- Notions: Tapestry needle for weaving in ends, sharp scissors.
- Safe yarn substitutions: Cotton yarn of the same weight works well but will result in a slightly stiffer fabric and may require a smaller hook if your tension is loose. Wool-acrylic blends provide excellent elasticity and warmth for blankets.
Stitch Guide & Abbreviations (US Terms)
- ch = chain
- dc = double crochet
- sl st = slip stitch
- sp = space
- st(s) = stitch(es)
- cluster = a group of 3 dc stitches worked into the same chain space
- magic ring = a method for starting rounds by crocheting into an adjustable loop
Step-by-Step Pattern Instructions
The square is worked in continuous rounds, with each round joined by a slip stitch to the top of the first stitch of that round.
Classic Granny Square
- Rnd 1: Start with a magic ring. Ch 3 (counts as first dc), work 2 dc into the ring, ch 2, 3 dc into the ring, ch 2 three times. Sl st to the top of the starting ch-3 to join. (12 sts and 4 ch-2 spaces)
- Rnd 2: Sl st into the next two stitches and into the corner ch-2 sp. Ch 3, 2 dc in same corner sp, ch 2, 3 dc in same corner sp. Ch 1, move to the next ch-2 corner sp, work (3 dc, ch 2, 3 dc) in that sp. Repeat from * to * two more times. Ch 1, sl st to the top of the starting ch-3. (24 sts and 8 ch-1/ch-2 spaces)
- Rnd 3: Sl st into the corner sp. Ch 3, 2 dc in corner, ch 2, 3 dc in same corner. Ch 1, 3 dc in the next ch-1 side sp, ch 1, (3 dc, ch 2, 3 dc) in the next corner sp. Repeat from * to * two more times. Ch 1, 3 dc in the final ch-1 side sp, ch 1, sl st to the top of the starting ch-3. (36 sts and 12 ch-1/ch-2 spaces)
- Rnd 4: Continue the pattern by working (3 dc, ch 2, 3 dc) in each corner and 3 dc in each side ch-1 space, separated by ch-1. Repeat until the square reaches your desired size.
Care & Washing Instructions
- Machine wash your finished item on a gentle cycle in cool water, ideally inside a mesh laundry bag.
- Lay the item flat on a clean towel to air dry, ensuring the edges are shaped square while damp.
- Avoid using bleach or high-heat ironing, as these can permanently damage the fiber structure of synthetic and natural yarns.
Pro Tips & Common Mistakes to Avoid
Consistent tension is the secret to a flat square; if your corners start to ruffle, your stitches are likely too loose, so try moving down one hook size. Always place a stitch marker in the top of your starting ch-3 at the beginning of each round so you can easily identify the join point when you return to the start. Weave in your ends as you go by carrying them under the stitches of the next round for about two inches to ensure they remain secure. You can adjust the final size of your square by adding more rounds; keep in mind that each additional round will increase the yarn requirement by approximately 15 percent.
Frequently Asked Questions
Can I substitute a different yarn weight for this pattern?
You can use any yarn weight, but you must adjust your hook size to match the label recommendation. A lighter yarn will result in a much smaller square, while a bulkier yarn will produce a significantly larger piece.
How do I make the square larger or smaller?
Simply add or subtract rounds. The pattern is a continuous expansion, meaning you can stop after any round to achieve the dimensions required for your specific project.
Is this pattern suitable for someone who has never crocheted before?
Yes, this is an ideal beginner project. It focuses on the double crochet stitch and chaining, which are the most common techniques used in almost all crochet patterns.
Am I allowed to sell items made from this pattern?
You are welcome to sell finished squares or items made using this tutorial. Always check the specific terms of use provided by the original pattern designer if you are using a modification of this guide.
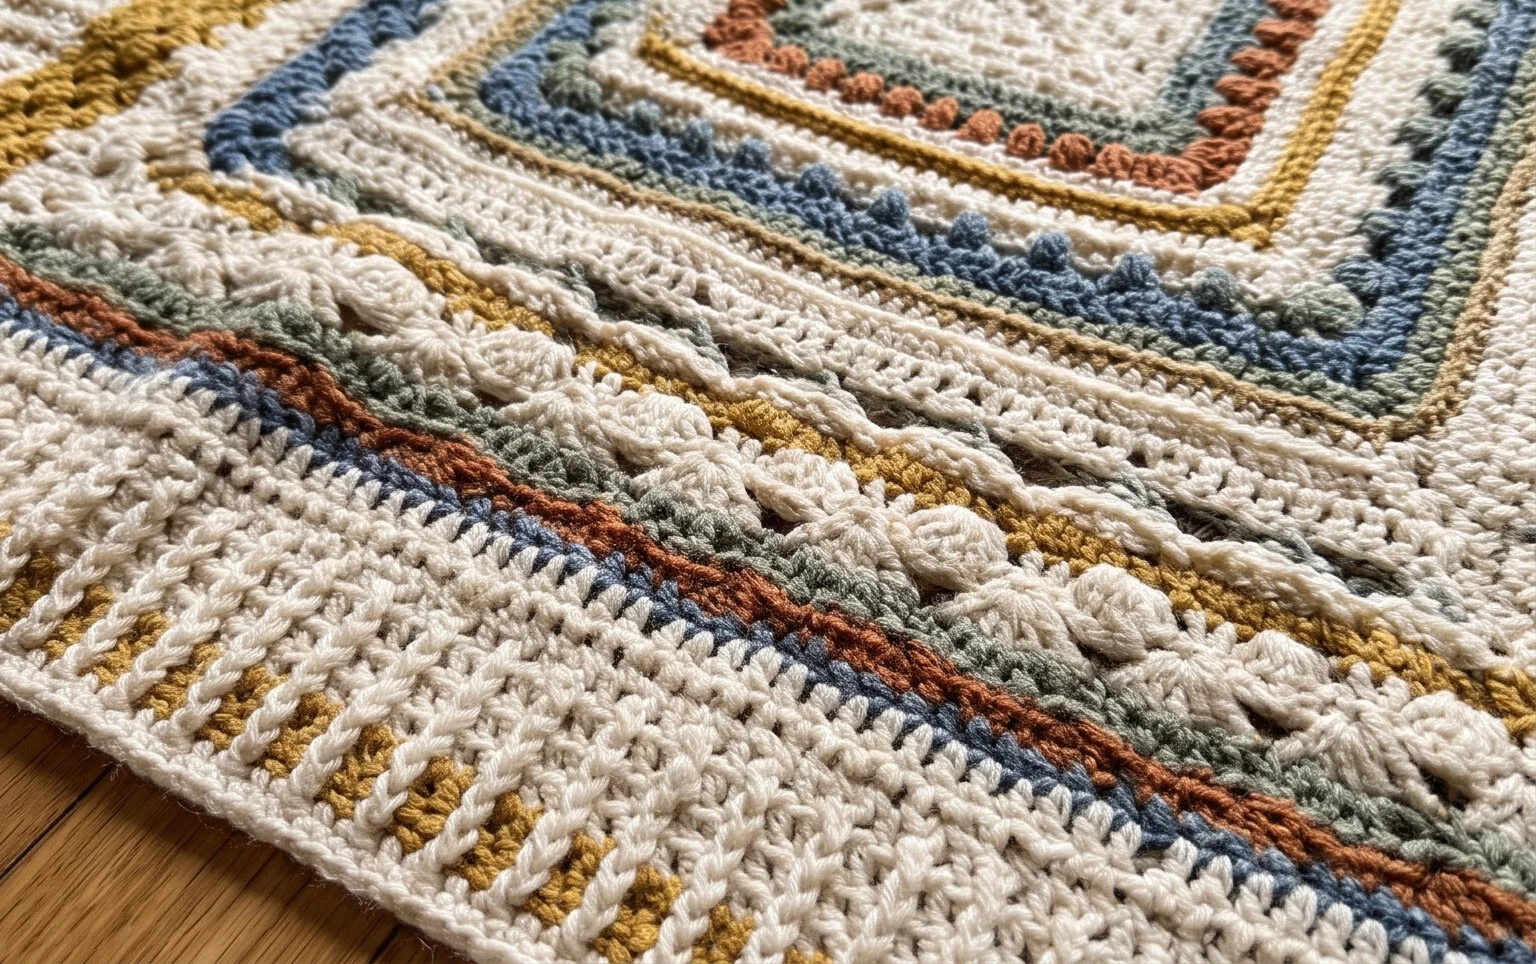
Seeing all those different textures come together in one finished blanket feels rewarding and brings a personal touch to your favorite reading chair. You can easily adapt these patterns by swapping the wool yarn for a lightweight cotton to create a breathable summer throw that suits warmer climates. Post a photo of your progress online to connect with other makers who are currently working through these same squares. Visit our blog archives to find more free projects that help you practice new techniques while building your own library of handmade goods.