Easy Crochet Storage Basket: Free Beginner Pattern
Lella boutique designs center on items that feel substantial in your hands, and this heavy-duty basket is no exception. Its thick, double-stranded walls provide a firm hold for cluttered desk supplies or tangled charging cords, ensuring they stay upright on your shelf. Beginners will find this project approachable because it relies on simple, rhythmic rounds that build height quickly. You get to practice working in a continuous spiral while learning how to increase a flat base into a standing container. This item turns a pile of yarn scraps into a practical home accessory that serves your daily needs for years.
Why You’ll Love This Pattern
The Classic Crochet Storage Basket is a functional home decor staple that keeps small items organized while adding a touch of handmade charm to any shelf or desk. Because it is worked with two strands of worsted weight yarn held together, the fabric creates a dense, sturdy structure that maintains its shape without needing extra stiffening agents. This pattern is exceptionally quick to complete, making it a reliable choice for last-minute gifts or stash-busting projects that utilize leftover yarn scraps. The repetitive nature of the single crochet stitches worked in the round allows for a meditative, low-stress process even for those who are relatively new to working in 3D construction.
I finished this basket in one evening while watching a movie. It holds all my spare chargers and cables perfectly and stands up on its own exactly as promised.
— Sarah, home organizer
Pattern Overview & Skill Level
- Skill Level: Beginner
- Approximate Time: 2–3 hours
- Construction: Continuous rounds starting from a flat circular base, working up the sides without joining rounds
- Finished Dimensions: 6 inches in diameter by 5 inches tall
Materials & Supplies Needed
- Yarn: Worsted weight (#4), cotton or acrylic blend, approximately 250 yards total (worked holding two strands together).
- Hook Size: 6.0 mm (J-10).
- Notions: Stitch marker to track the start of rounds, tapestry needle for weaving in ends, scissors.
- Safe yarn substitutions: You may use a bulky weight (#5) yarn held as a single strand if you prefer, though this will result in a slightly different texture and may require adjusting your hook size to ensure the fabric remains stiff.
Stitch Guide & Abbreviations (US Terms)
- ch: chain
- st/sts: stitch/stitches
- sc: single crochet
- inc: 2 sc in the same stitch
- sl st: slip stitch
- BLO: back loop only (used to create the sharp angle for the basket sides)
- MR: magic ring
Step-by-Step Pattern Instructions
Basket Base
- Rnd 1: Work 6 sc into a MR. (6 sts)
- Rnd 2: 2 sc in each st around. (12 sts)
- Rnd 3: [1 sc in next st, inc] 6 times. (18 sts)
- Rnd 4: [1 sc in next 2 sts, inc] 6 times. (24 sts)
- Rnd 5: [1 sc in next 3 sts, inc] 6 times. (30 sts)
- Rnd 6: [1 sc in next 4 sts, inc] 6 times. (36 sts)
- Rnd 7: [1 sc in next 5 sts, inc] 6 times. (42 sts)
Basket Sides
- Rnd 8: Sc in the BLO of each st around. (42 sts)
- Rnds 9–20: Sc in both loops of each st around. (42 sts per round)
- Rnd 21: Sl st in the next 3 sts to smooth the transition, then fasten off.
Assembly and Finishing
Cut your yarn, leaving a 6-inch tail. Pull the tail through the final loop. Use the tapestry needle to weave the end back and forth through the interior stitches of the basket base. Trim any excess yarn close to the fabric, ensuring the knot is hidden on the inside of the basket.
Care & Washing Instructions
- Machine wash your basket on a gentle cycle in cold water using a mild detergent.
- Reshape the basket by hand while it is still damp and set it on a flat surface to air dry.
- Do not bleach or iron, as high heat can damage the integrity of the yarn fibers and cause the basket to lose its rigidity.
Pro Tips & Common Mistakes to Avoid
Maintain consistent tension throughout the project by ensuring that both strands of yarn are feeding evenly from your yarn cake or ball. When working in a continuous spiral, always place a stitch marker in the first stitch of each round to avoid losing your place. If you find your basket is curling too much or too little at the base, check your stitch counts against the increase guide provided. You can easily adjust the height of the basket by adding or removing rounds at the end, but remember that increasing the size will consume more yardage and may require an extra skein of yarn.
Frequently Asked Questions
Can I substitute the cotton yarn for acrylic?
Yes, acrylic yarn works well for this project and provides a similar structure, though cotton generally creates a stiffer, more durable fabric that holds its shape better over time.
Is this pattern suitable for someone who has never crocheted before?
Yes, this project only uses the basic single crochet stitch and simple increases, making it an excellent first project for a beginner who understands how to hold the hook and yarn.
How can I make the basket larger?
To increase the base diameter, continue the increase pattern by adding one additional stitch between your increases in every subsequent round (e.g., [1 sc in next 6 sts, inc] for the next round), then work even for more rounds to match the height.
Can I sell items made from this pattern?
Yes, you are welcome to sell finished items made from this pattern, provided you credit the design and do not distribute the pattern text itself as your own work.
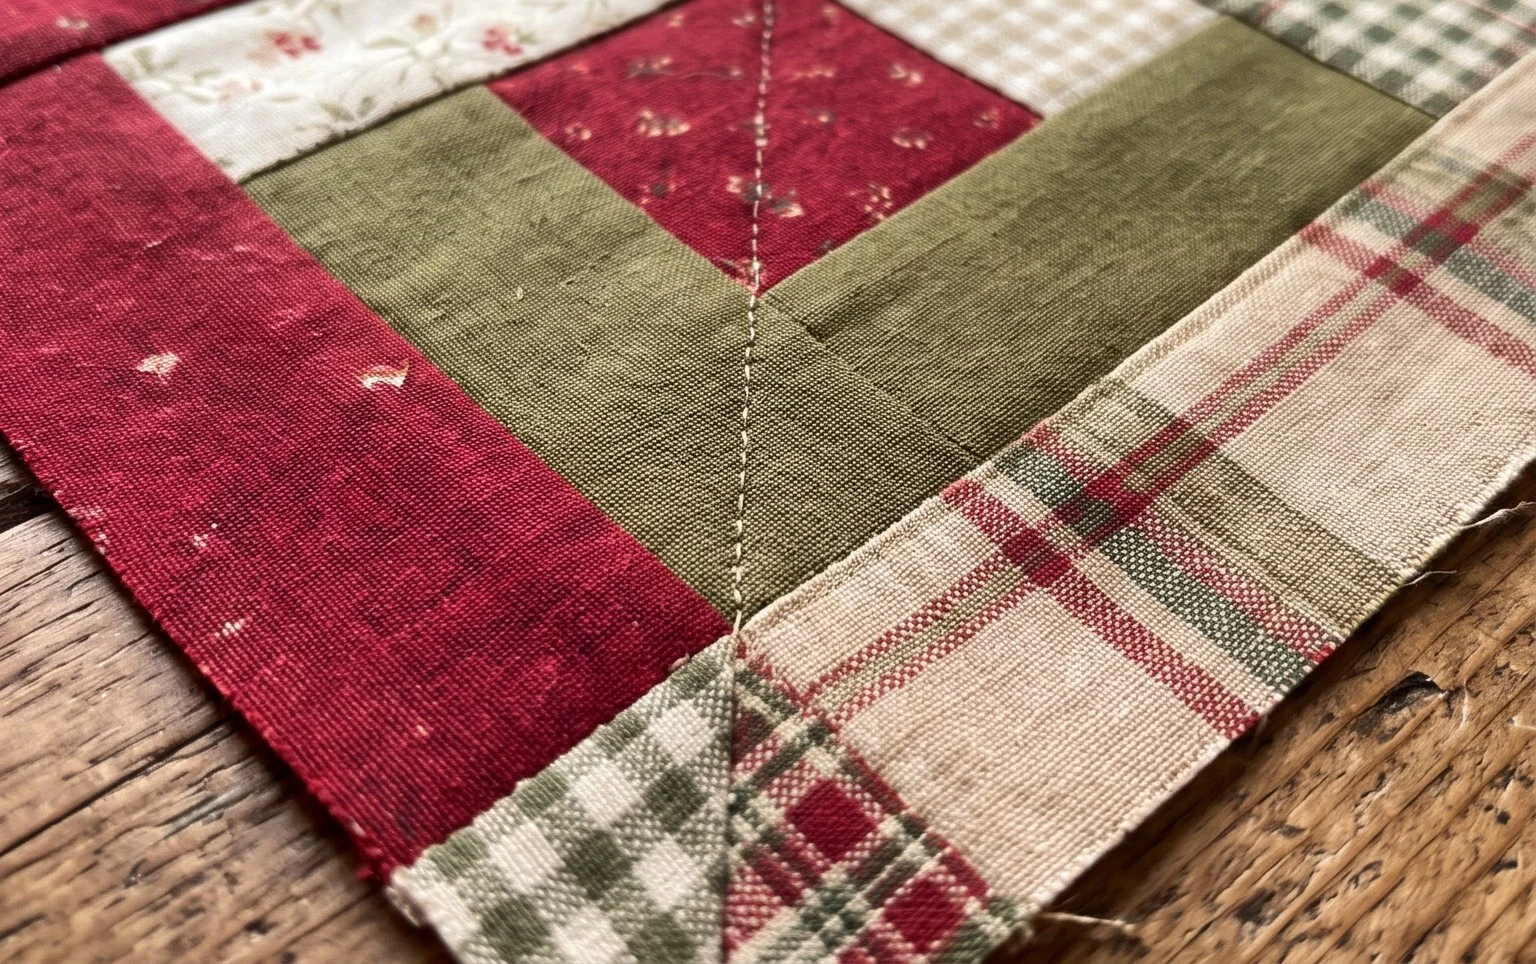
Your finished basket brings a clean, organized look to any surface while using up those leftover yarn balls you have been holding onto. For a different aesthetic, try alternating two contrasting colors to create a subtle marled effect or make a smaller version by using a single strand of yarn with a smaller hook. I love seeing the creative color choices you make, so please tag your photos online so I can see your version. If you enjoyed this project, browse the rest of the blog for more free patterns to fill your home with handmade pieces.