Easy Crochet Winter Cowl Patterns: Free Beginner Guide
Soft wool resting against your neck provides immediate relief when the wind picks up during a long walk outside. These cowls sit snugly without the bulk of a traditional scarf, making them a practical choice for anyone who finds fringe or long ends annoying to manage. Crafting one allows you to experiment with basic stitches like the half double crochet or the moss stitch, which build up thickness quickly while keeping your hands busy for an hour or two. Whether you want a gift for a friend or a simple accessory for yourself, you will find these patterns build confidence through repetition and clear, steady progress.
Why You’ll Love This Pattern
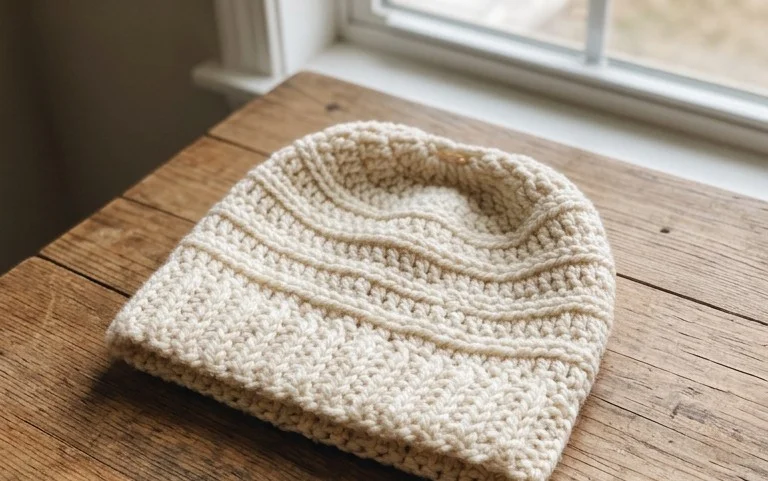
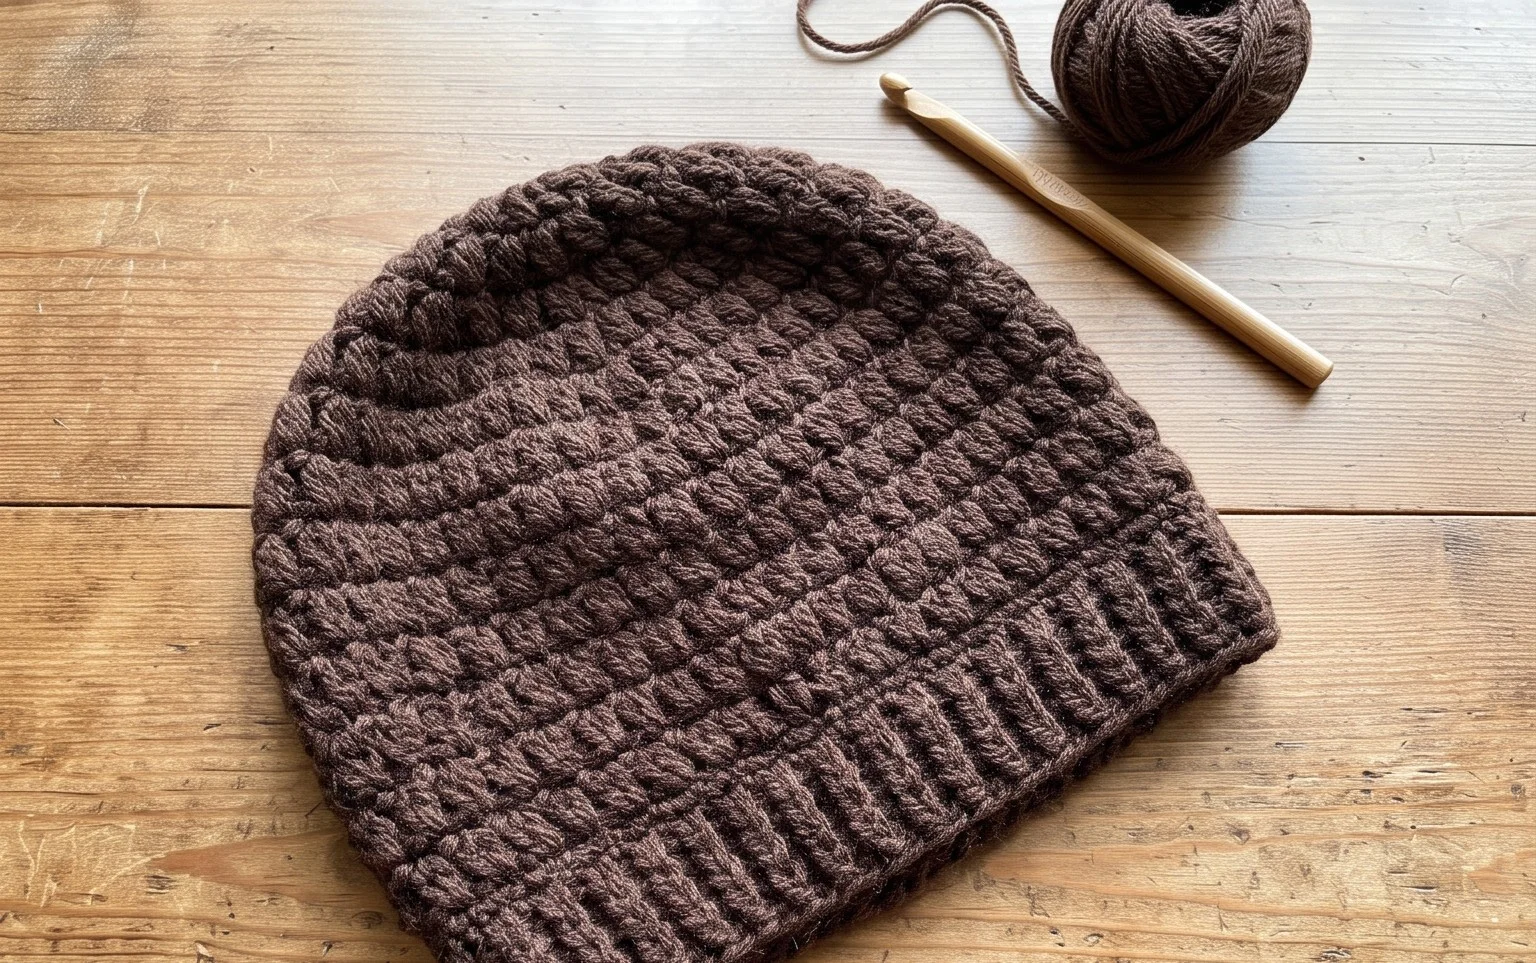
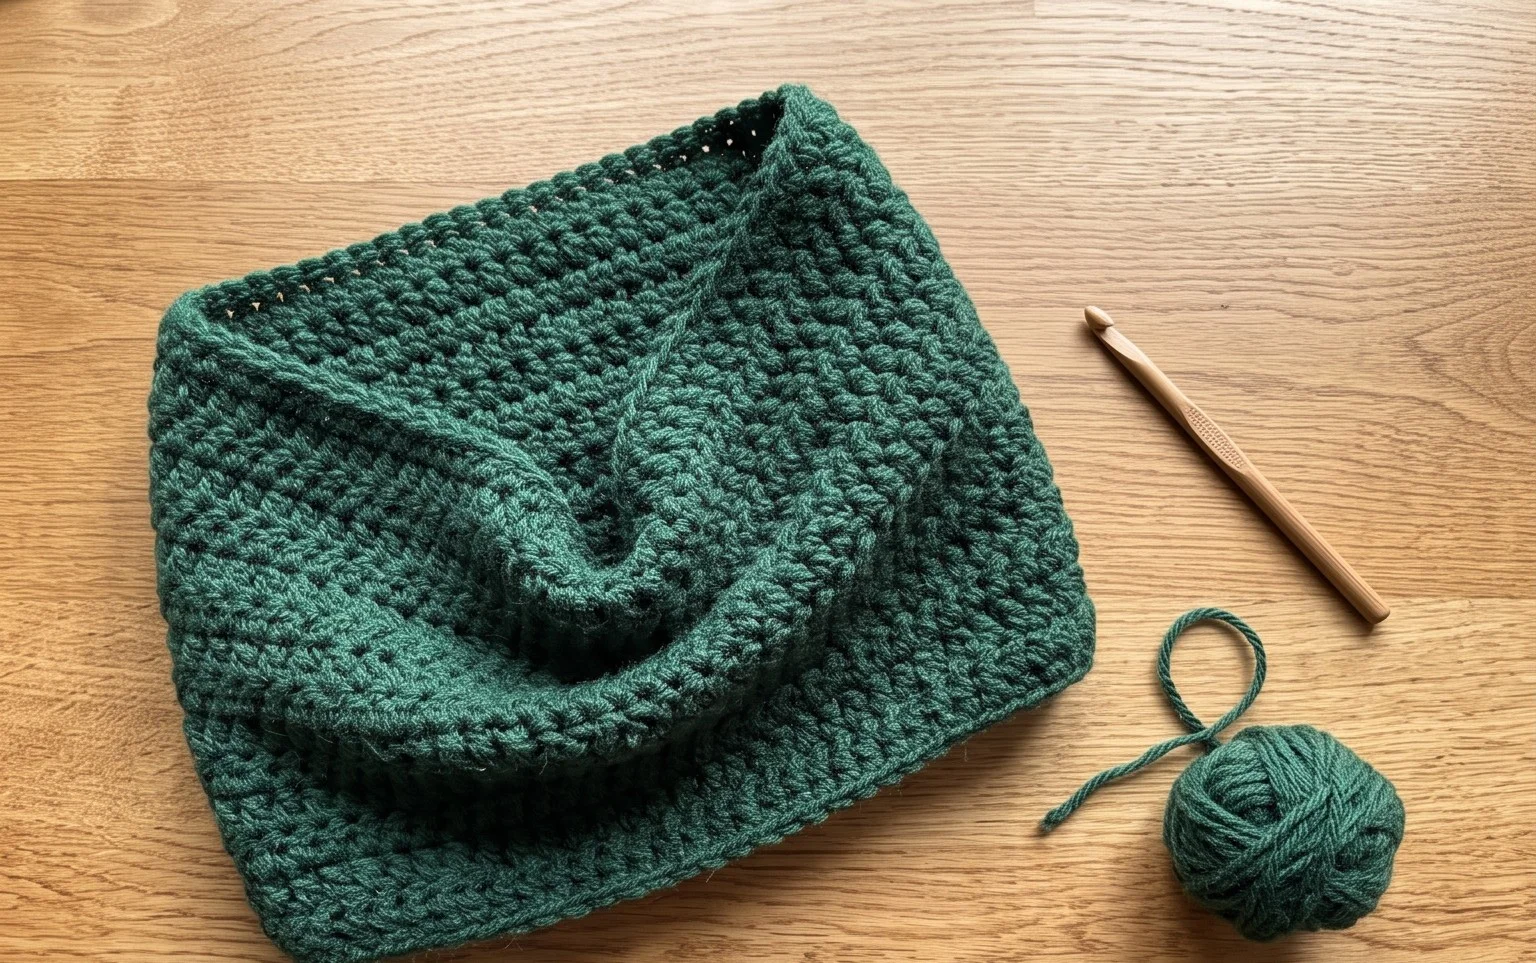
This classic crochet beanie works up quickly using a simple ribbed construction that creates a stretchy, comfortable fit for most head sizes. It utilizes the half double crochet stitch in the back loop only, which mimics the look of high-end knitwear while maintaining the speed of a standard crochet project. Because the pattern relies on a repeating rectangular panel, you can easily adjust the height or circumference by adding or subtracting foundation chains and rows. It is an ideal project for using up single skeins of worsted weight yarn, and the repetitive nature of the stitches makes it a relaxing project to work on during an evening.
I finally found a hat pattern that does not look bulky or lumpy on my head, and it worked up in just two nights of television watching.
— Sarah, hobbyist crafter
Pattern Overview & Skill Level
- Skill Level: Beginner
- Approximate Time: 3 to 5 hours
- Construction: Worked flat in rows as a rectangle and seamed into a tube to form the hat
- Finished Dimensions & Sizing: Fits an average adult head (20 to 22 inches in circumference); dimensions measure 9 inches wide by 11 inches tall before folding the brim
Materials & Supplies Needed
- Yarn: Worsted weight (#4) acrylic or wool blend, approximately 200 yards
- Hook Size: 5.5 mm / I-9
- Notions: Yarn needle, measuring tape, scissors, stitch markers
- Safe yarn substitutions: Cotton yarn will result in a heavier, less stretchy hat, while alpaca blends will provide extra warmth and drape; ensure your yarn matches the gauge of approximately 14 stitches over 4 inches
Stitch Guide & Abbreviations (US Terms)
- ch = chain
- hdc = half double crochet
- BLO = back loop only (insert hook under the back loop of the stitch instead of both loops)
- sl st = slip stitch
- st/sts = stitch/stitches
- Special Stitch: Half Double Crochet in Back Loop Only (hdc BLO) adds elasticity and a ridged, knit-like texture to the fabric by leaving the front loop exposed.
Step-by-Step Pattern Instructions
Main Hat Body
- Row 1: Ch 41. Hdc in the third ch from hook and in each ch across. Ch 1 and turn. (39 sts)
- Row 2: Hdc BLO in each st across. Ch 1 and turn. (39 sts)
- Rows 3 through 60: Repeat Row 2 until the piece measures approximately 20 inches in length when slightly stretched. Do not fasten off.
Assembly and Finishing
- Fold the rectangle in half so the short ends meet.
- Using the remaining yarn tail and a tapestry needle, whip stitch the two short ends together to create a tube.
- Weave the yarn in and out of the stitches along the top edge of the tube.
- Pull the yarn tightly to gather the top opening closed like a drawstring bag. Secure the center with a knot and weave in your ends.
- Fold the bottom 3 inches of the hat upward to create the brim.
Care & Washing Instructions
- Hand wash in cool water with a mild detergent designed for delicates.
- Gently squeeze out excess water using a towel rather than wringing the fabric, which can distort the shape.
- Lay the hat flat on a dry towel and reshape it to its original dimensions to air dry away from direct heat sources.
Pro Tips & Common Mistakes to Avoid
Maintain consistent tension throughout the project to ensure the ribbed texture looks uniform across the entire surface. Use a stitch marker at the beginning of each row to help you identify the final stitch, as it is common for beginners to accidentally drop the last stitch in each row, leading to a slanted edge. If you wish to make the hat larger or smaller, simply add or subtract foundation chains, but remember that this will require more or less yarn respectively. Weave your ends in by traveling horizontally through the ribbing for at least two inches to ensure the seam remains secure during wear.
Frequently Asked Questions
Can I use a different yarn weight for this pattern?
You can use a different weight, but it will change the dimensions and gauge of the project significantly. If using a thinner yarn, you will need to add more foundation chains and more total rows to reach the same finished size.
Is this pattern suitable for complete beginners?
Yes, this is an excellent choice for a first garment project because it only uses the half double crochet stitch and requires basic seaming. It introduces the concept of working into the back loop, which is a fundamental skill for more complex textures.
How do I adjust the size for a child?
Measure the intended wearer’s head circumference and subtract 2 inches for negative ease. Adjust your foundation chain count to match this height, and work your rows until the piece wraps around their head circumference.
Can I sell the hats made from this pattern?
You are welcome to sell finished items created from this pattern, provided you credit the design. Please do not redistribute the pattern text or images as your own.
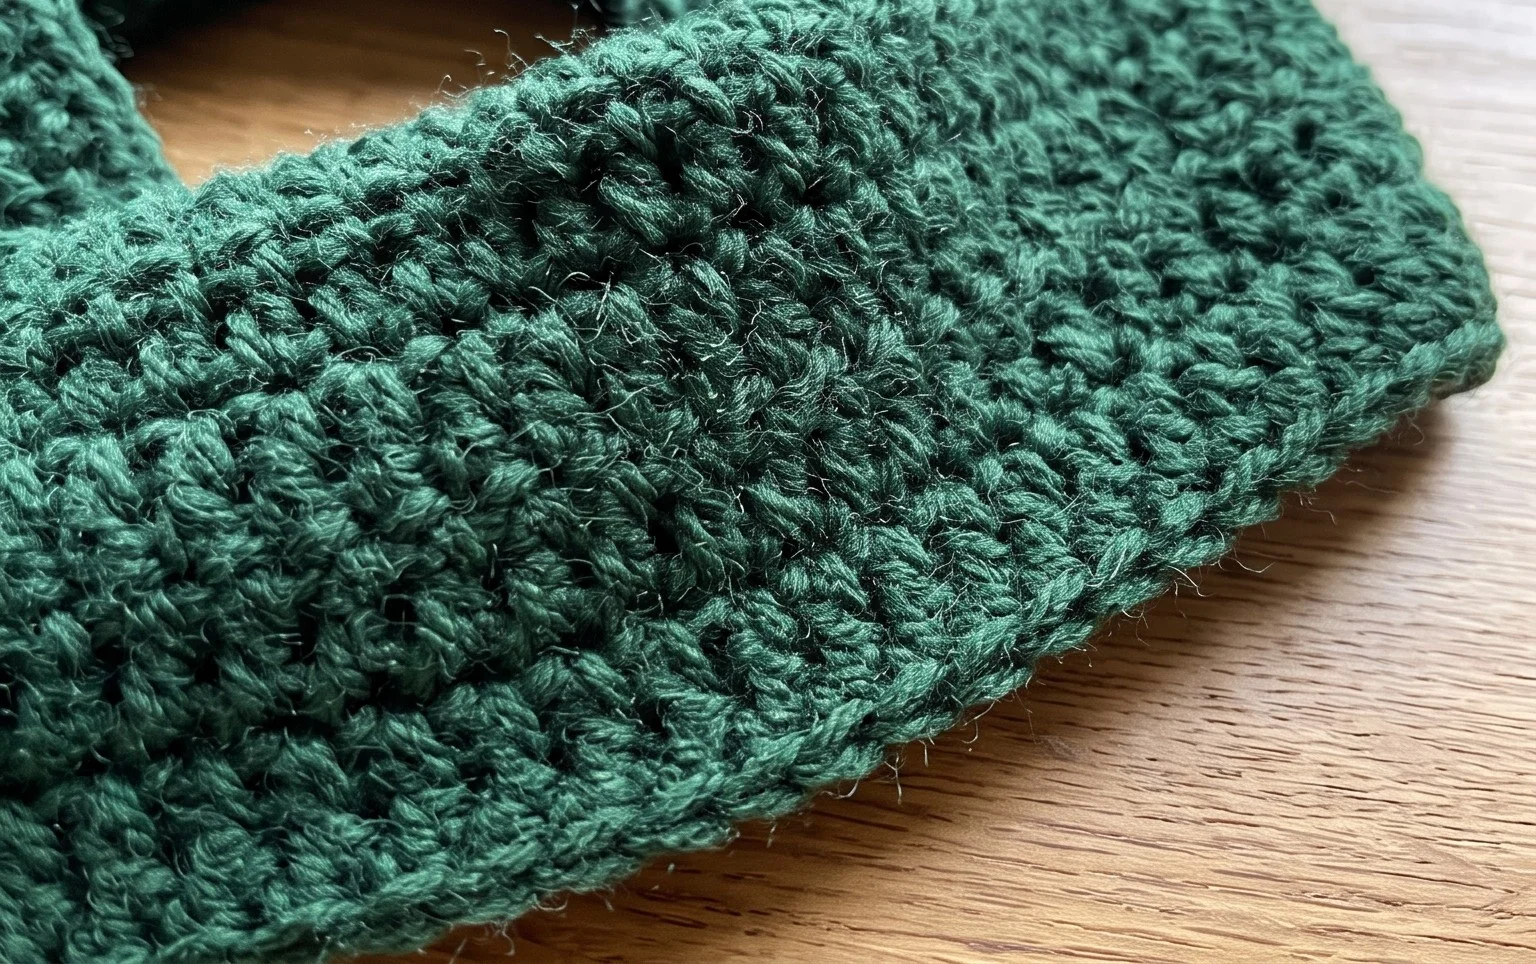
Finishing your cowl gives you a functional piece of clothing that feels much better than anything found in a mass-market store. You can easily modify the result by choosing a variegated yarn to add visual texture or by adding a few extra rows to create a double-loop style that wraps twice around your head. Please share a photo of your finished work on social media so others can see how your color choices turned out. Feel free to browse through the rest of the blog for more free patterns that you can start today.