Easy Tunisian Crochet Dishcloth: Free Beginner Pattern
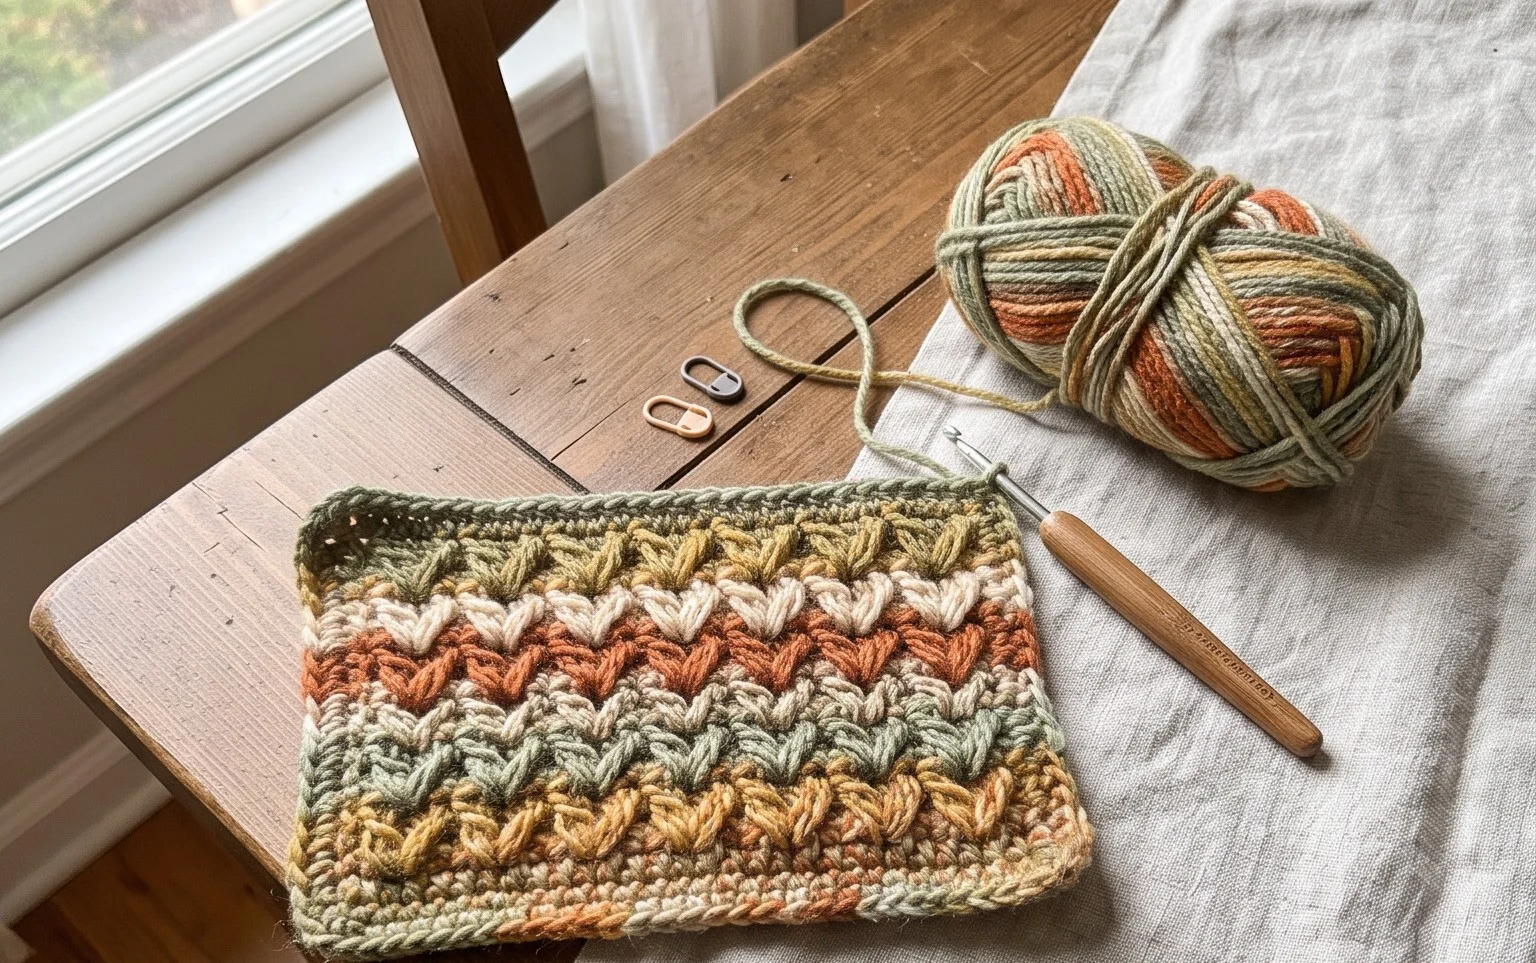
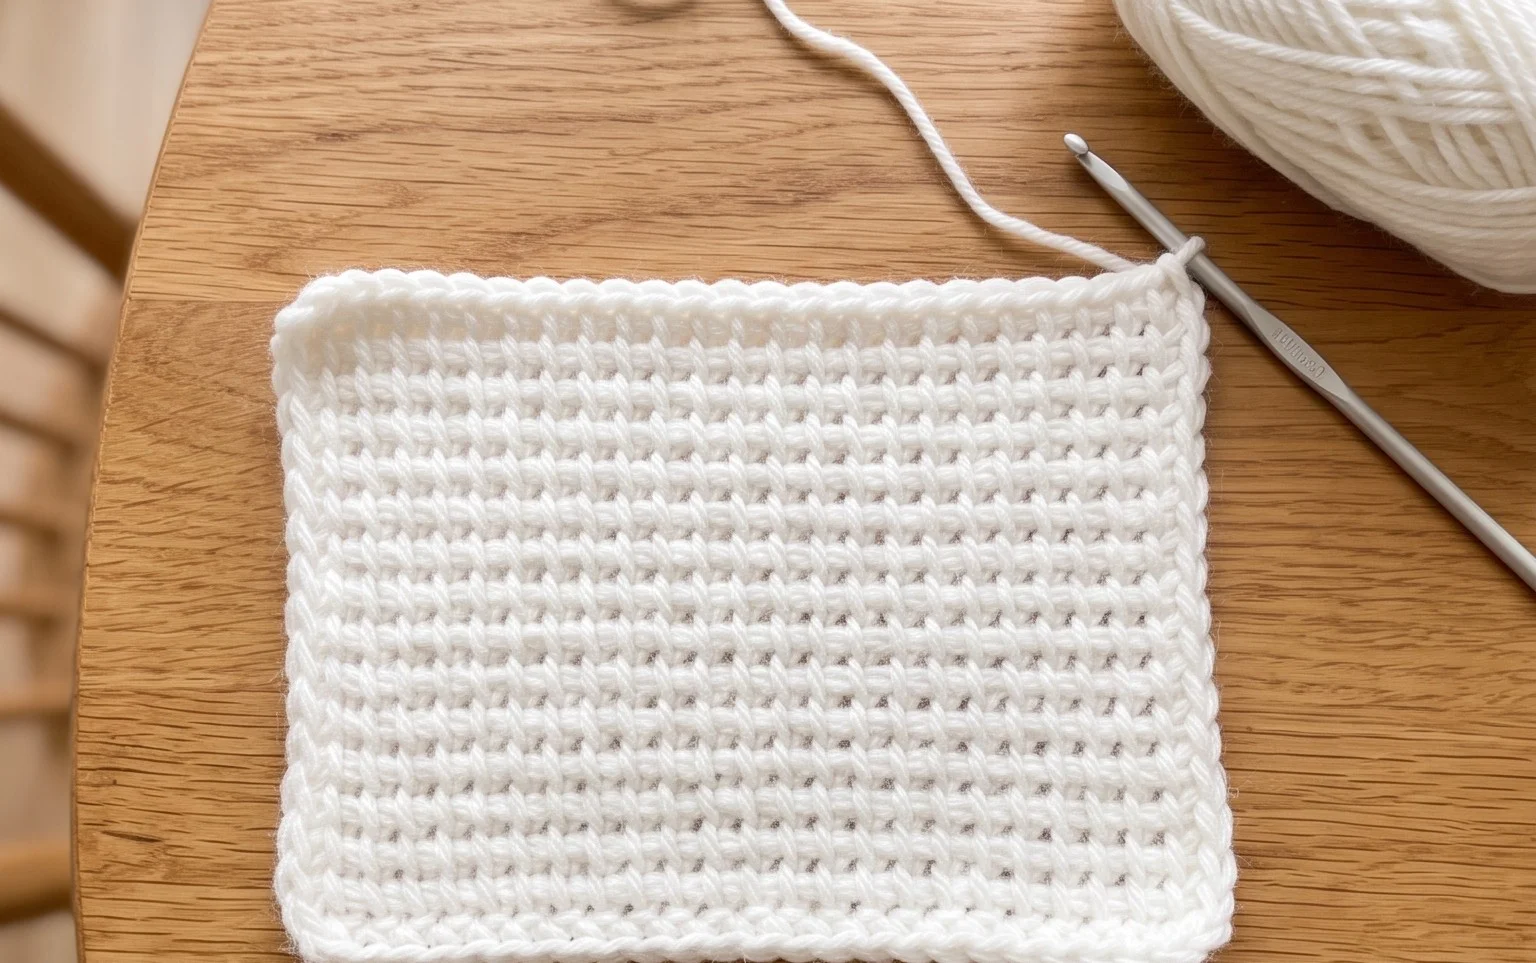
Dense, squishy fabric forms under your hook when you work this classic Tunisian stitch. It creates a thick, pillowy texture that stands up to heavy scrubbing on pots and pans while staying soft enough to wipe down a wooden dining table. This specific method involves a simple forward and return pass, which beginners often find much more manageable than traditional knitting or standard crochet. If you enjoy making functional items that finish quickly, this project is for you. Mastering these loops provides a solid foundation for larger blankets or decorative pillows, giving you a relaxing way to spend a quiet evening at home.
Why You’ll Love This Pattern
This classic crochet dishcloth is designed to strike a balance between functional durability and a pleasing aesthetic. The texture is created using a simple alternating stitch pattern that allows for excellent scrubbing power while remaining soft enough to handle delicate glassware. Because it works up in under two hours, it is a practical project for building your stash or creating a thoughtful handmade gift. You can easily complete this piece during a single evening of relaxing at home, making it an ideal project for practicing tension control without the pressure of a large, complex garment.
I am usually intimidated by new stitches but the repetition here made it very easy to follow along without needing to constantly check the instructions. The final cloth is thicker than store-bought ones and cleans my kitchen counters perfectly.
— Sarah, home crafter
Pattern Overview & Skill Level
- Skill Level: Beginner
- Approximate Time: 1.5 to 2 hours
- Construction: Worked in flat rows, turning at the end of each row
- Finished Dimensions: 8 inches by 8 inches square
Materials & Supplies Needed
- Yarn: Worsted weight (#4) cotton yarn, approximately 75 yards per dishcloth. Cotton is necessary for heat resistance and absorbency.
- Hook Size: 5.0 mm (H-8) crochet hook.
- Notions: Tapestry needle for weaving in ends and a pair of sharp scissors.
- Yarn Substitutions: You may use a cotton-acrylic blend for a softer feel, though 100% cotton is recommended for better water absorption. Using a different weight of yarn will significantly change the dimensions of the finished square.
Stitch Guide & Abbreviations (US Terms)
- ch: Chain
- sc: Single crochet
- dc: Double crochet
- st(s): Stitch(es)
- sl st: Slip stitch
- Turning ch: The chain at the end of a row used to gain height for the next row.
Step-by-Step Pattern Instructions
Dishcloth Body
- Foundation: Chain 29.
- Row 1: Sc in the second ch from the hook and in each remaining ch across. Turn. (28 sts)
- Row 2: Ch 1, sc in the first st, dc in the next st. Repeat the pattern of [sc, dc] across the row, ending with a dc in the final st. Turn. (28 sts)
- Row 3: Ch 1, sc in the first st, dc in the next st. Repeat the pattern of [sc, dc] across the row, ending with a dc in the final st. Turn. (28 sts)
- Rows 4–28: Repeat Row 3 until the piece measures approximately 8 inches in height.
- Finishing: Fasten off the yarn, leaving a 6-inch tail. Use your tapestry needle to weave the end securely into the fabric to prevent unraveling during washing.
Care & Washing Instructions
- Machine wash on a warm setting (up to 104°F) with like colors to prevent dye transfer.
- Lay the dishcloth flat on a clean towel to dry, pulling into a square shape while damp to ensure it retains its size.
- Avoid using fabric softener, as it reduces the absorbency of cotton fibers and leaves a waxy residue on your dishes.
Pro Tips & Common Mistakes to Avoid
- Consistent Tension: Because this pattern uses alternating single and double crochet stitches, ensure your tension remains even so the fabric does not ruffle or pull inward at the edges.
- Stitch Counting: Always count your stitches at the end of every row. A common mistake is skipping the final stitch of the row, which causes the edges to become uneven and the piece to slant.
- Weaving Ends: Weave your ends in multiple directions—horizontally, vertically, and diagonally—to lock the yarn in place, as dishcloths undergo frequent agitation in the washing machine.
- Adjusting Size: To make the cloth larger, increase your starting chain by an odd number. Keep in mind that a larger cloth will require more than 75 yards of yarn, so check your supply before beginning.
Frequently Asked Questions
Can I use acrylic yarn for these dishcloths?
While you can use acrylic, it is not recommended for kitchen cleaning. Acrylic is a plastic fiber and does not absorb water effectively. 100% cotton is the industry standard for home cleaning items.
Why do my edges look wavy instead of straight?
Wavy edges usually occur when your tension is too loose or when you are accidentally adding extra stitches at the start or end of a row. Always verify your stitch count matches the instruction (28 sts).
Is this pattern suitable for someone who has never crocheted before?
Yes, this is an ideal starter project. It uses only two basic stitches—single and double crochet—and requires no complicated shaping or joining.
Can I sell the dishcloths I make using this pattern?
You are welcome to sell finished items created from this pattern. I only ask that you provide credit to the designer and use your own photographs to represent your work.
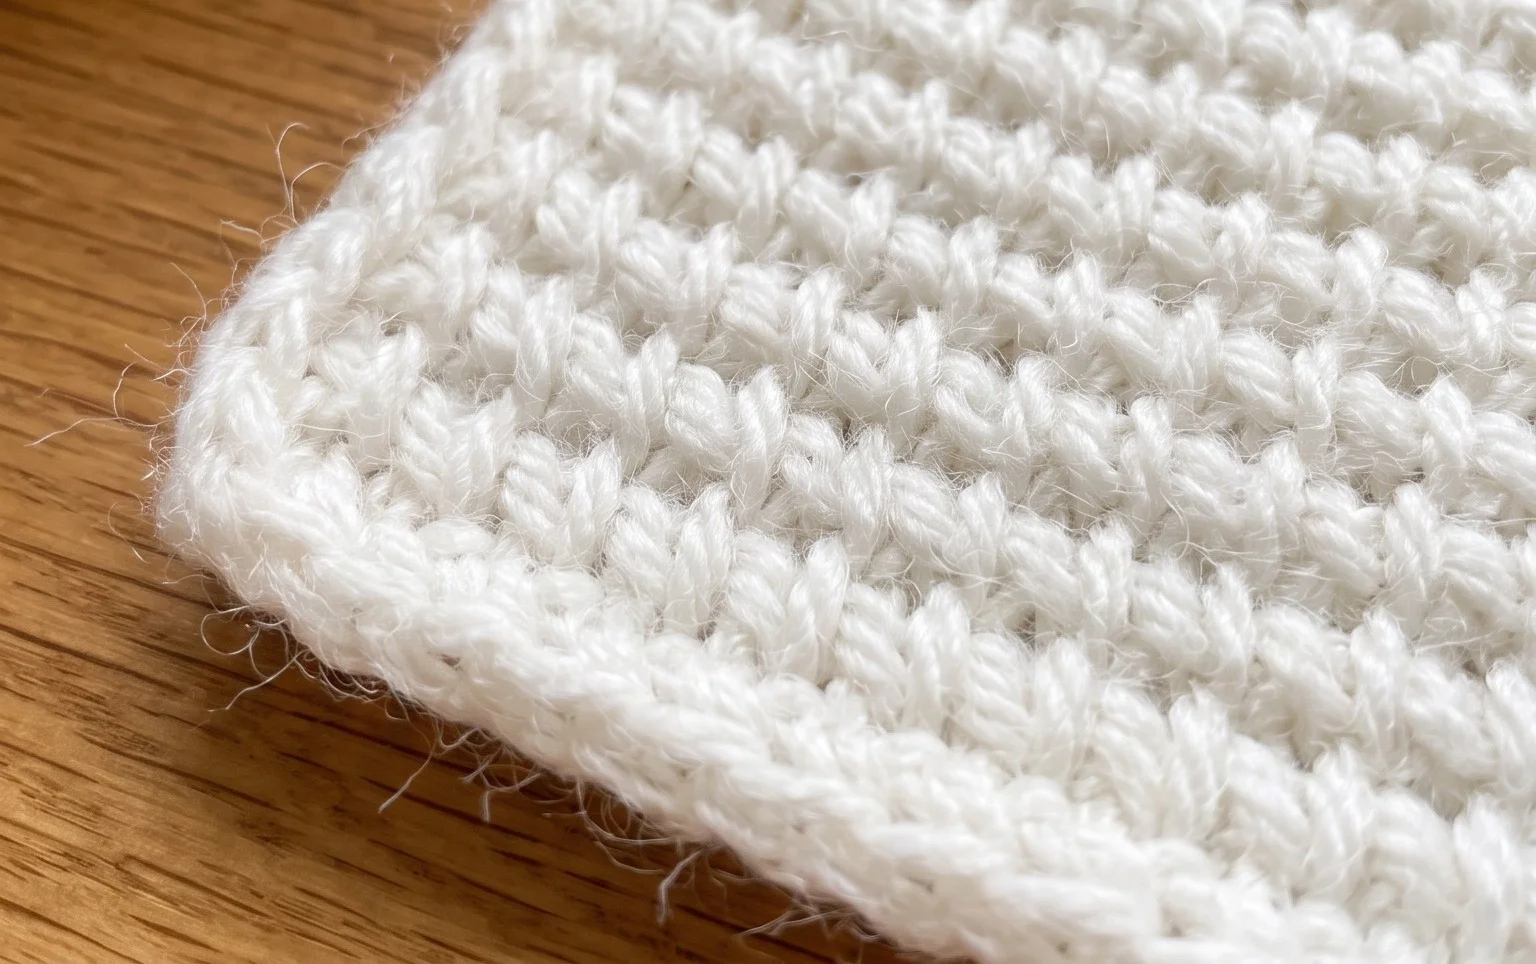
Your new handmade dishcloth brings a durable, high-quality touch to your daily kitchen cleanup routine. To create a matching set for your home, consider using a variegated cotton yarn or alternating two solid colors every row for a striped effect. Sharing photos of your finished work helps others see the texture in natural light. Feel free to browse the rest of the blog for more patterns that use basic supplies you likely have in your craft cabinet right now.