Easy Climbing Vine Stitch Crochet Bag: Free Pattern
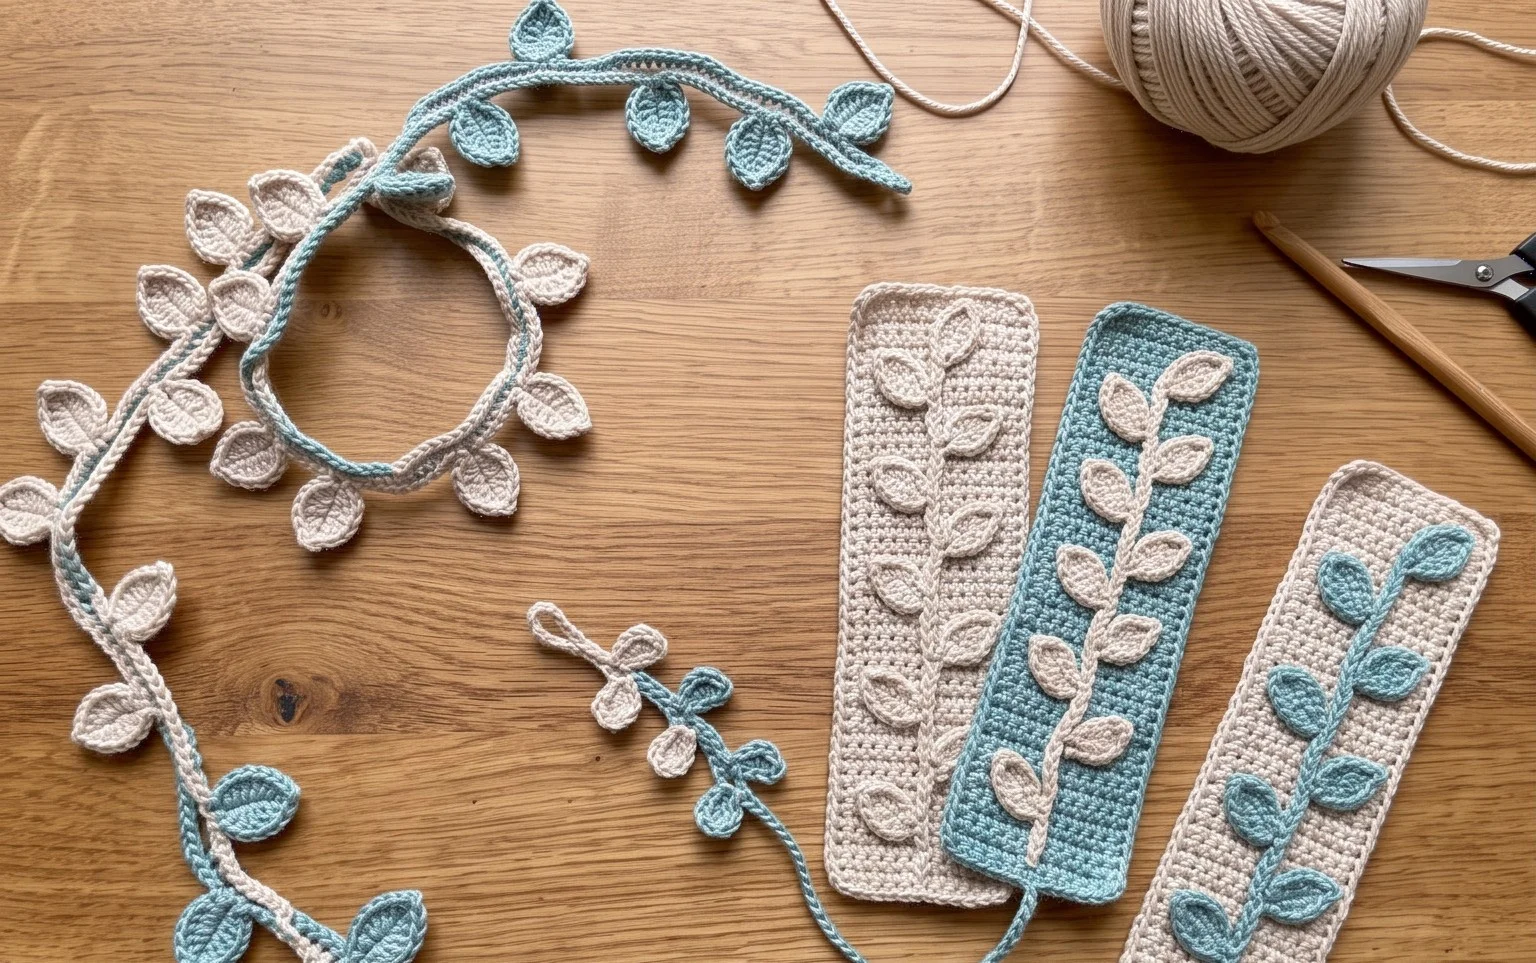
The climbing vine stitch creates a dense, rhythmic texture that looks much more advanced than it actually is, making it a favorite for adding character to simple accessories. You will find that this pattern feels soft yet substantial in your hands, providing a structured look that stands up on its own. It fits beautifully into a beginner-friendly project list because it relies on standard crochet stitches repeated in a thoughtful sequence to build those recognizable leafy shapes. This project helps you practice tension control while producing something useful for your craft room organization or small gift giving needs.
Why This Project Is Worth Making
This simple crochet drawstring bag is an ideal project for using up small amounts of leftover yarn. Its compact size makes it perfect for holding notions like stitch markers, needles, or your favorite pair of small scissors. Because it uses a basic double crochet stitch pattern, it works up quickly, allowing you to finish a functional gift in just one evening. The drawstring closure is reliable and easy to adjust, ensuring that your contents stay secure inside while you travel. You can easily adapt the size by adding more rounds to the base or more rows to the body, making it as versatile as it is practical.
I managed to finish this bag in just two hours and it is now the perfect home for my spare tapestry needles and tape measure.
— Sarah, hobbyist crocheter
Pattern Overview & Skill Level
- Skill Level: Beginner
- Approximate Time: 2 to 3 hours
- Construction: Worked in joined rounds starting from a circular base, transitioning to a tube for the body, and finished with a chain-stitch drawstring.
- Finished Dimensions & Sizing: Approximately 5 inches wide by 6 inches tall when laid flat.
Materials & Supplies Needed
- Yarn: Worsted weight (#4) cotton yarn, approximately 80 yards. Cotton provides the structural integrity needed for a bag.
- Hook Size: 4.5 mm (US G-7) crochet hook.
- Notions: Tapestry needle for weaving in ends, a pair of scissors, and a stitch marker to track the beginning of each round.
- Safe yarn substitutions: You may use acrylic yarn, though it will result in a slightly stretchier bag. Wool is acceptable, but be aware that it may felt over time with heavy use.
Stitch Guide & Abbreviations (US Terms)
- ch = chain
- st/sts = stitch/stitches
- sl st = slip stitch
- dc = double crochet
- dc2tog = double crochet 2 together (decrease)
- yo = yarn over
Special Stitch
dc2tog: Yarn over, insert hook into indicated stitch, yarn over and pull up a loop, yarn over and pull through 2 loops. Yarn over, insert hook into the next stitch, yarn over and pull up a loop, yarn over and pull through 2 loops. Finally, yarn over and pull through all 3 loops on your hook.
Step-by-Step Pattern Instructions
Bag Base
- Rnd 1: Start with a magic ring. Ch 3 (counts as first dc), work 11 dc into the ring. Join with a sl st to the top of the beginning ch-3. (12 sts)
- Rnd 2: Ch 3, dc in same st, 2 dc in each st around. Join with a sl st. (24 sts)
- Rnd 3: Ch 3, *dc in next st, 2 dc in next st; repeat from * around. Join with a sl st. (36 sts)
- Rnd 4: Ch 3, *dc in next 2 sts, 2 dc in next st; repeat from * around. Join with a sl st. (48 sts)
Bag Body
- Rnd 5: Ch 3, dc in each st around. Join with a sl st. (48 sts)
- Rnds 6-14: Repeat Rnd 5. (48 sts per round)
- Rnd 15 (Eyelet Row): Ch 4 (counts as dc and ch 1), skip next st, dc in next st. *Ch 1, skip next st, dc in next st; repeat from * around. Join with a sl st to the 3rd ch of the starting ch-4. (24 dc, 24 ch-1 spaces)
- Rnd 16: Ch 1, sc in each dc and ch-1 space around. Join with a sl st. (48 sts)
Drawstring and Finishing
Chain 80 with your yarn. Fasten off and weave the long chain in and out through the eyelets created in Rnd 15. Tie the ends of the chain together in a simple knot to secure the closure. Weave in any remaining yarn tails using your tapestry needle, ensuring they are hidden on the inside of the bag.
Care & Washing Instructions
- Hand wash your finished bag in cool water with a mild detergent to prevent the fibers from stretching.
- Lay the item flat on a clean towel to dry, reshaping it into its original circular form while it is damp.
- Avoid using a tumble dryer, as heat can cause the cotton to shrink and lose its stitch definition.
Pro Tips & Common Mistakes to Avoid
Maintain consistent tension throughout the project to ensure the bag keeps its shape. If your stitches are too loose, the bag will sag; if they are too tight, the fabric will become stiff. Use a stitch marker at the beginning of every round to avoid losing your place, especially during the taller body section. When weaving in your ends, run the tail through the back side of several stitches to prevent them from coming loose with frequent use. If you decide to adjust the size, remember that adding more rounds to the base will require more yarn overall and will result in a wider bag than the dimensions listed.
Frequently Asked Questions
Can I use a larger hook to make the bag bigger?
Yes, using a larger hook will increase the size of the stitches and the finished bag. Note that this will also create larger gaps between the stitches, which may cause small items to slip through.
Is this pattern suitable for a total beginner?
This pattern is excellent for beginners who have mastered the basic chain, slip stitch, and double crochet. The repetitive nature of the rounds makes it a great way to practice maintaining consistent stitch counts.
Can I sell the bags I make from this pattern?
You are welcome to sell finished items made from this pattern as long as you credit the design. Please use your own photographs to market your creations.
How do I change the color of the bag midway through?
To change colors, complete the last step of the final stitch of a round by pulling the new color through the loops on your hook. This creates a clean transition between the old and new yarn.
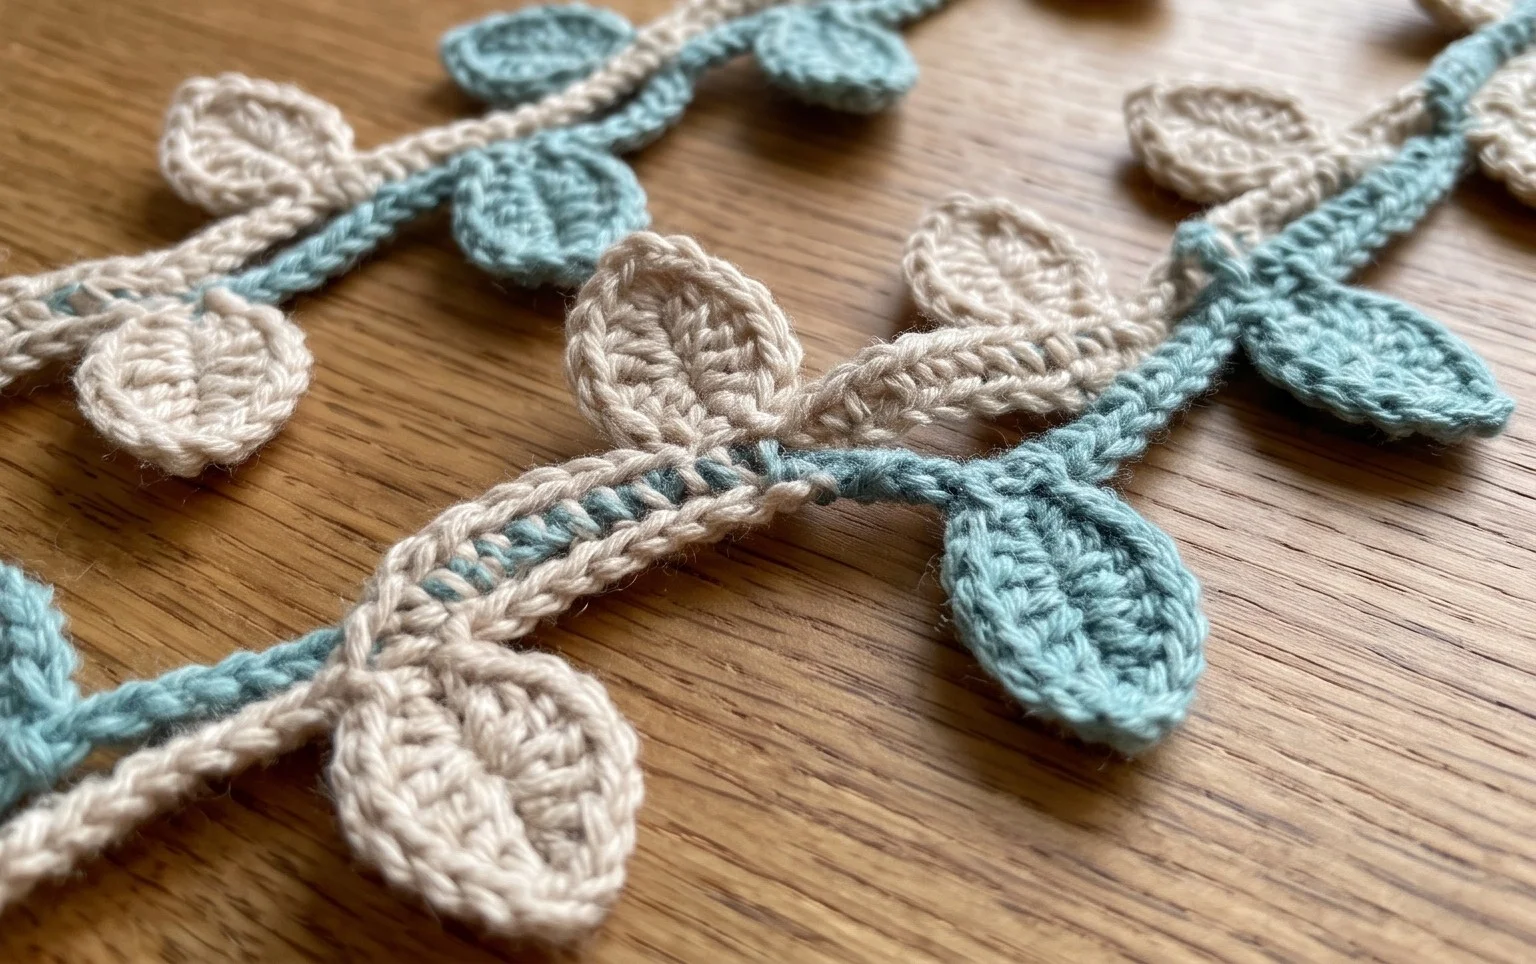
Your new handmade bag is ready for service, providing a reliable home for your hooks and notions while showing off that beautiful climbing vine texture. You can change the appearance by using a variegated yarn to make the leaves pop or by adding a fabric lining to protect the contents. Seeing how your own version turns out is a highlight of the process, so please share a photo on your favorite social media platform. You can find more free patterns and project guides on our main blog whenever you feel like starting your next adventure.