Easy Crochet Beanie: Beginner-Friendly Free Pattern
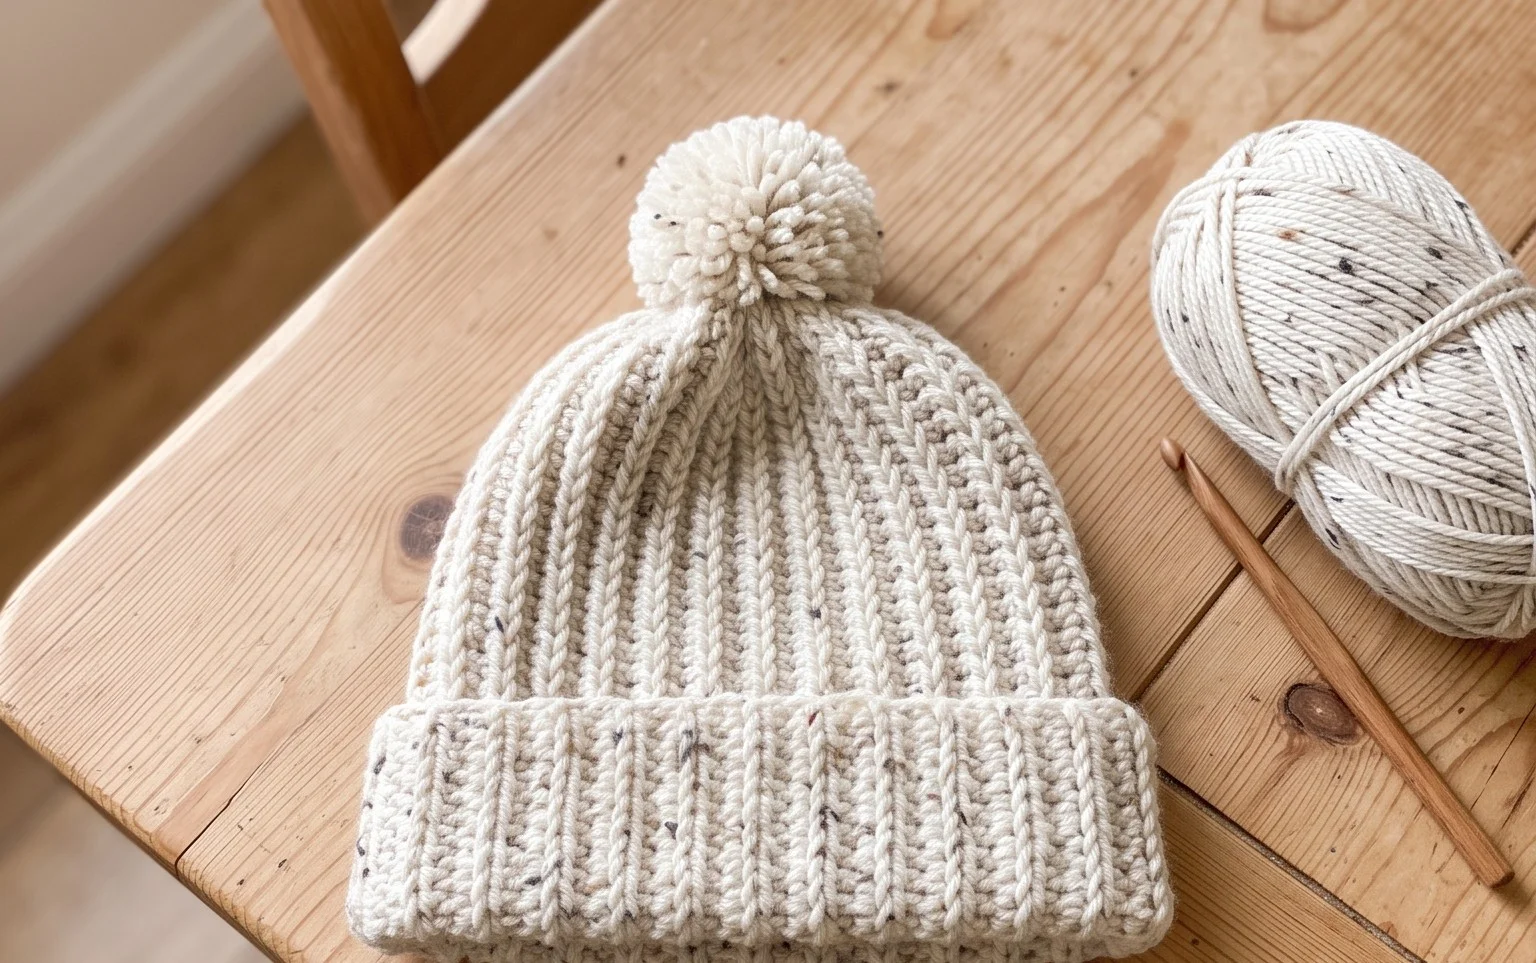
This warm hat has a dense, ribbed texture that looks remarkably like professional knitwear despite being made entirely with simple crochet stitches. Its construction is incredibly straightforward because it starts as a flat rectangle, which means you avoid the common frustration of working in tight, circular rounds. Beginners often appreciate this method for building consistent tension, while experienced makers value how quickly the rows fly by for a quick gift. Working with worsted weight yarn provides enough structure for a snug fit that stays secure on your head without feeling tight or restrictive during long winter walks.
Why You’ll Love This Pattern
This classic crochet beanie works up quickly using the half double crochet stitch, which provides a dense, warm fabric perfect for cold weather. Because the design relies on a simple rectangle worked in rows and then seamed, it is an excellent project for beginners looking to practice tension control. You can complete this project in a single afternoon, making it a reliable choice for last-minute handmade gifts. The stitch pattern is incredibly forgiving, allowing you to focus on rhythm rather than complex stitch counts.
I managed to finish this hat in about three hours, and the instructions were clear enough that I didn’t have to restart even once. The final fit is snug but stretchy enough for daily wear.
— Sarah, casual crafter
Pattern Overview & Skill Level
- Skill Level: Beginner
- Approximate Time: 3 to 4 hours
- Construction: Worked flat in rows as a rectangle, then seamed at the side and gathered at the top to form a beanie shape.
- Finished Dimensions & Sizing: 9 inches wide by 10 inches tall (fits most adult heads with a 21-23 inch circumference).
Materials & Supplies Needed
- Yarn: Worsted weight #4, 100% acrylic, approximately 200 yards.
- Hook Size: 5.5 mm / I-9.
- Notions: Yarn needle, measuring tape, and scissors.
- Safe yarn substitutions: Wool or wool-blend yarns will provide more warmth and elasticity. If using cotton, the hat will be heavier and lack the natural stretch of acrylic or wool.
Stitch Guide & Abbreviations (US Terms)
- ch = chain
- hdc = half double crochet
- st/sts = stitch/stitches
- BLO = back loop only (insert hook under the back loop of the stitch instead of both loops to create a ribbed effect).
- sl st = slip stitch
Step-by-Step Pattern Instructions
Main Hat Body
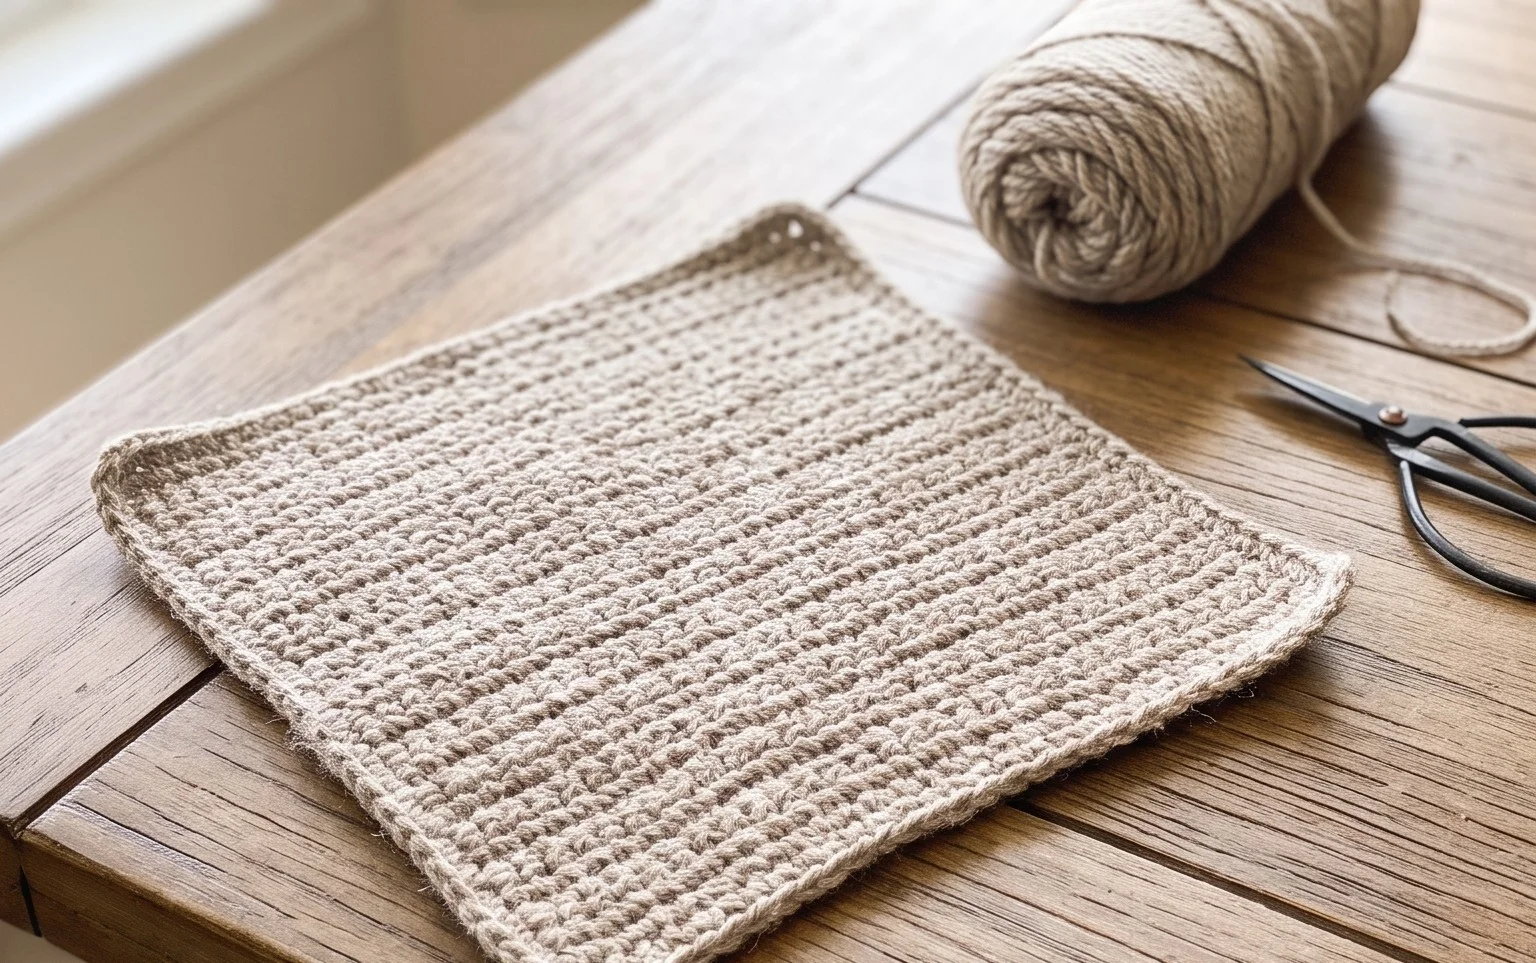
- Row 1: Ch 41. Hdc in 2nd ch from hook and each ch across. Turn. (40 sts).
- Row 2: Ch 1. Hdc in BLO of each st across. Turn. (40 sts).
- Rows 3-50: Repeat Row 2 until the piece measures approximately 18 inches in length when laid flat. Do not fasten off after the final row.
Assembly and Finishing
- Fold the rectangle in half so that the short ends meet.
- Use the yarn tail to sl st through both the foundation chain and the last row, joining the two edges together to form a tube.
- Fasten off, leaving a 12-inch long yarn tail.
- Thread the yarn needle with the long tail and weave it in and out of the stitches along the top edge of the tube.
- Pull the yarn tightly to gather the top of the hat closed, securing the opening with a few firm stitches.
- Weave in all remaining ends securely on the inside of the hat.
Care & Washing Instructions
- Machine wash in cold water on a gentle cycle to preserve the fiber integrity.
- Lay the hat flat on a towel to air dry, ensuring it is reshaped to its original dimensions.
- Avoid using bleach or high heat, as this may cause the yarn to lose its elasticity and texture.
Pro Tips & Common Mistakes to Avoid
Maintain consistent tension throughout the rows to ensure the edges of your rectangle remain straight. If your tension is too loose, the fabric will appear holey, while too tight will make the final hat stiff and uncomfortable. Always place a stitch marker in the first stitch of every row if you find yourself accidentally dropping stitches at the end of your rows. Weaving in your ends over a distance of at least two inches will prevent the seams from unraveling over time. To adjust the size, simply add or subtract rows; adding four rows will increase the hat circumference by approximately one inch, which will require an extra 10-15 yards of yarn.
Frequently Asked Questions
Can I use a thicker yarn for this project?
Using a bulky weight yarn will change the dimensions and gauge significantly. If you switch to a different weight, you will need to adjust your starting chain and row count to match your desired size.
Is this pattern suitable for complete beginners?
Yes, because the pattern uses only half double crochet and simple row-based construction, it is ideal for those who have just learned basic chain and stitch techniques.
Can I sell the hats I make from this pattern?
You are welcome to sell finished items created from this pattern. However, do not use my photos or redistribute the written instructions as your own work.
What should I do if the hat is too small?
If the hat feels tight, you can block the finished piece by soaking it in lukewarm water and gently stretching it while pinning it to a flat surface. This process relaxes the fibers and adds flexibility to the final garment.
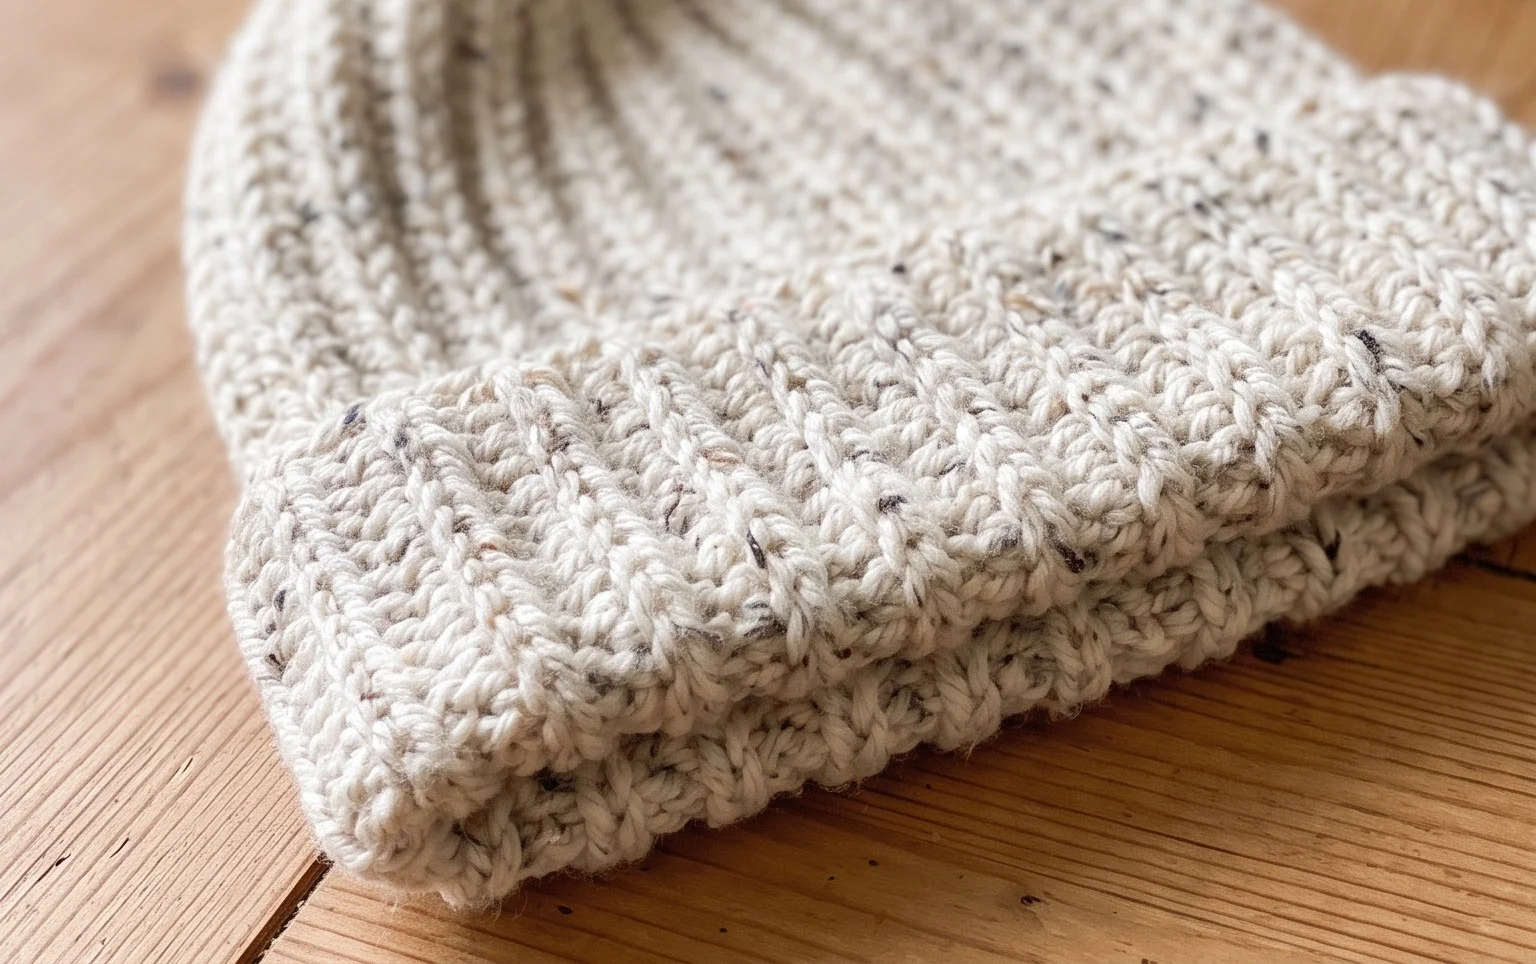
You now have a warm, custom-fitted hat that highlights the beauty of simple, rhythmic stitching. Try using a variegated wool yarn for your next version to see how the color shifts change the appearance of the fabric. I love seeing how these projects turn out, so please share a photo of your finished work on your favorite social media site. You can find more free patterns and techniques for your next afternoon project by browsing the rest of the archives on my blog.