Alpine Stitch Crochet: Free Step-by-Step Stitch Guide
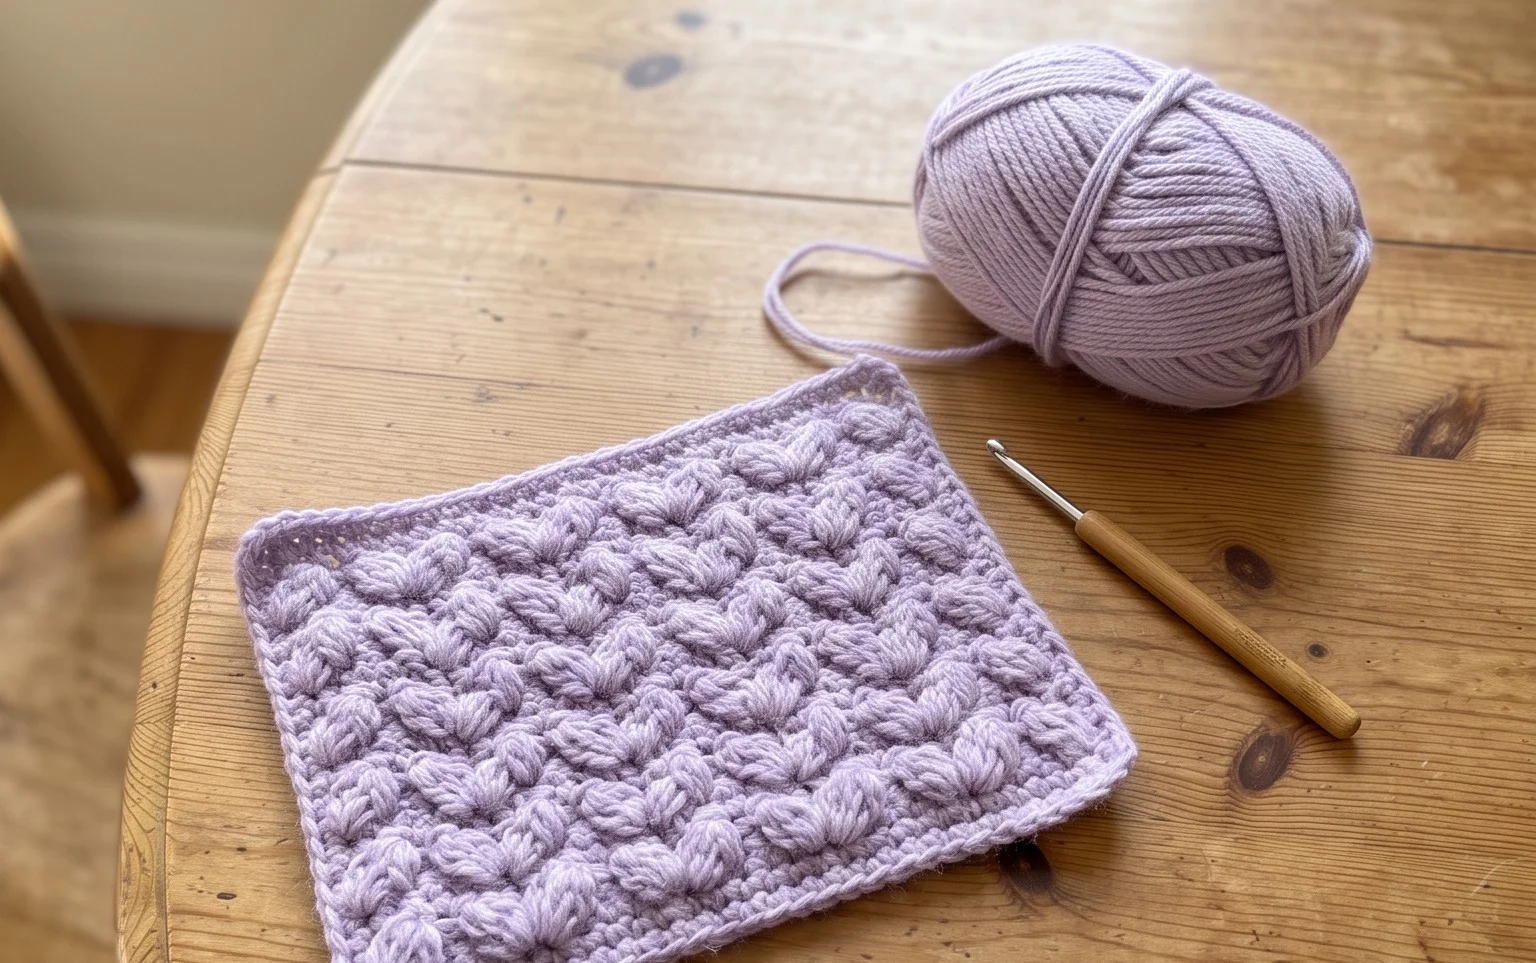
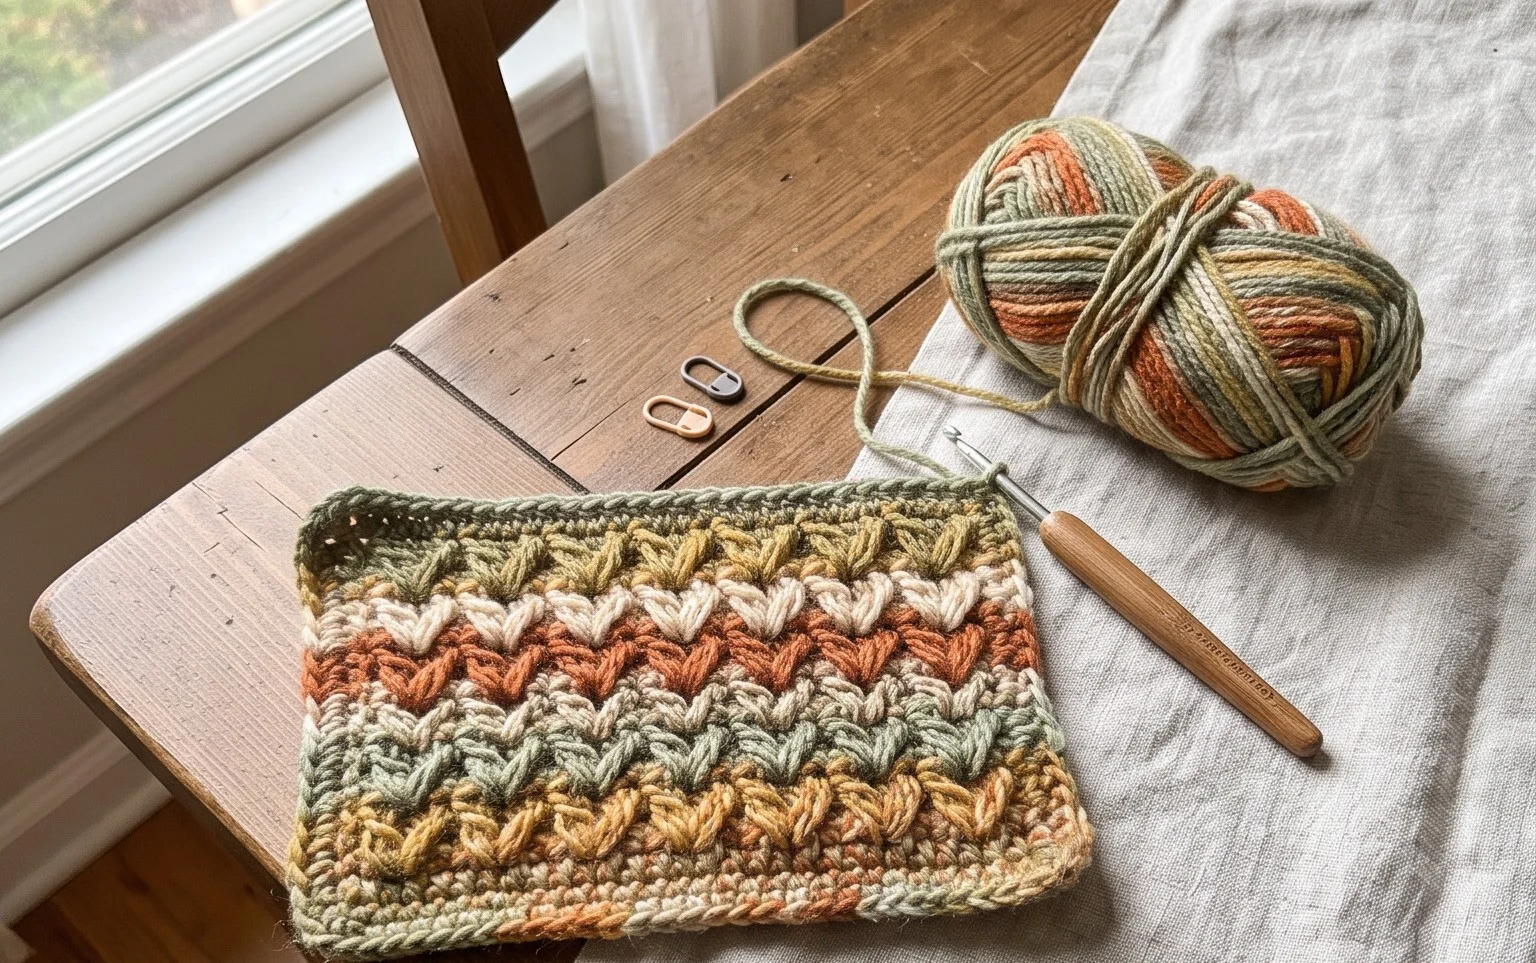
The Alpine stitch makes a thick crochet fabric with raised vertical lines and a soft, cushioned feel. It gives scarves, blankets, cushion covers, and home accessories a clear texture without needing several colors or complicated shaping. If you are new to crochet, this tutorial helps you get comfortable with front post double crochet and see how it works alongside basic stitches. The repeated pattern is satisfying to watch grow, and a small practice swatch is a handy way to learn the rhythm before starting a larger gift project. You will find guidance on the stitch structure, keeping your edges even, and choosing yarn and a hook that show off the ridges. Once the pattern clicks, you can adjust the width or length to suit your next project.
Why You’ll Love This Pattern
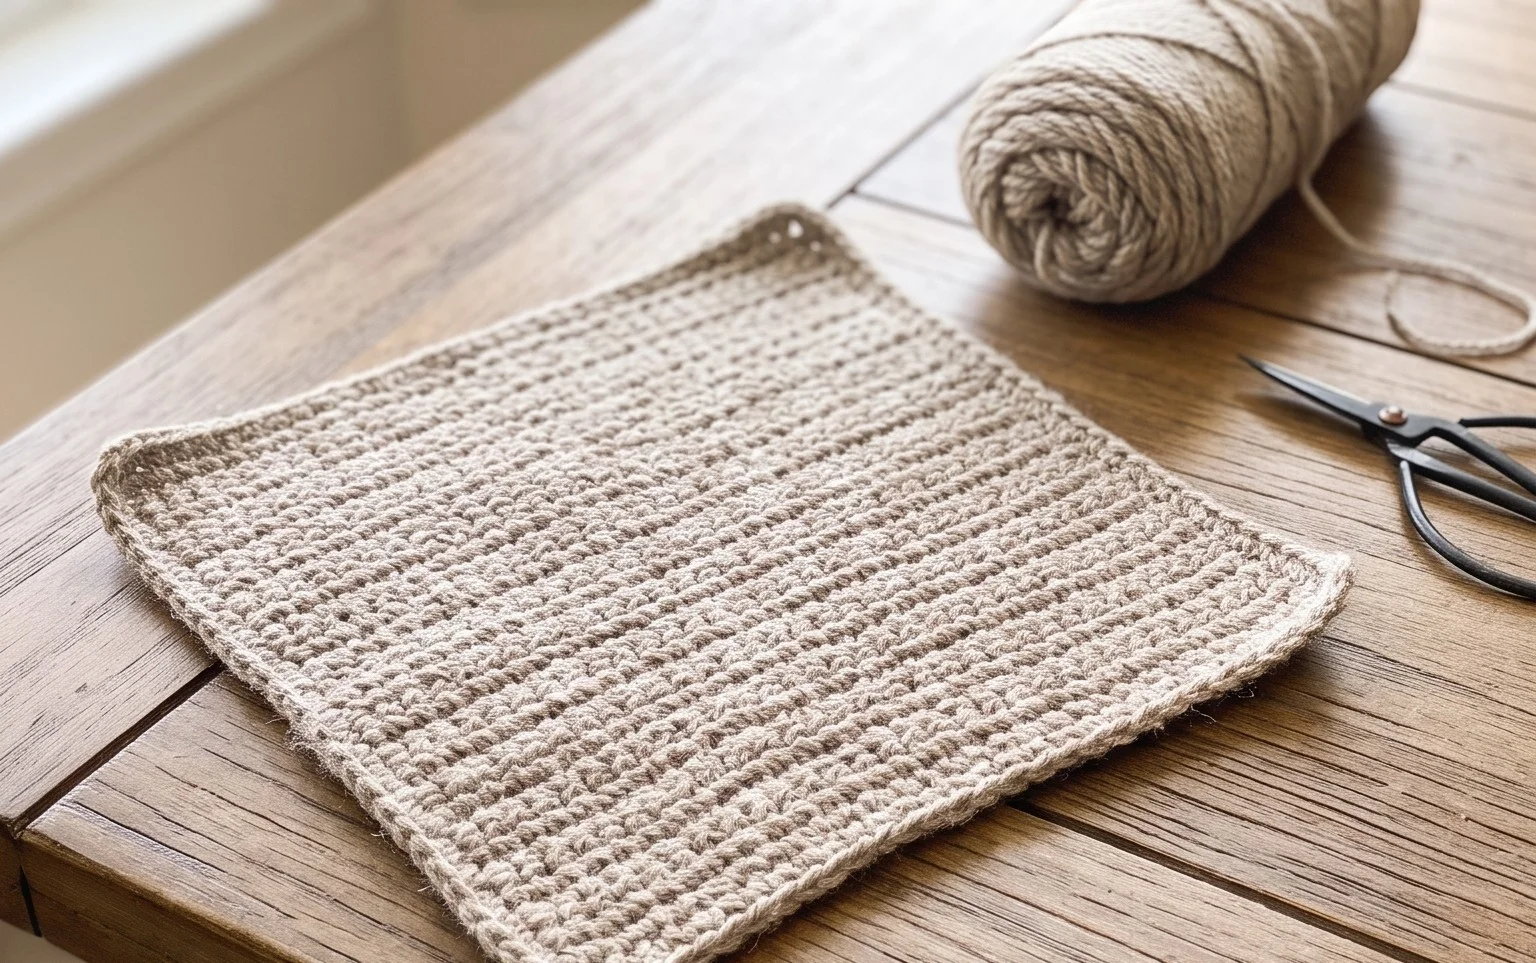
This crochet washcloth is made in cotton yarn with simple single crochet rows, so the finished fabric is firm enough for everyday use and easy to rinse clean. The rectangular shape comes from a short foundation chain and straight rows, with no shaping or special stitch pattern to memorize.
It is a good first project for practicing even tension and counting rows. The cloth also works well for small amounts of worsted cotton left from other projects, as long as you have enough yarn to finish the final row. Make a set in coordinating colors for a practical housewarming gift.
The rows were easy to follow, and I had a useful washcloth finished in an evening. I put a marker in the first stitch of each row, which helped me keep the edges straight.
— Clara, beginner crocheter
Pattern Overview & Skill Level
- Skill Level: Beginner. You need to know how to chain and single crochet.
- Approximate Time: 2–3 hours, depending on your pace and how often you stop to check your row count.
- Construction: Worked flat in single crochet rows, from the bottom edge upward. There is no seaming or separate border.
- Finished Dimensions & Sizing: About 6.5 × 6.5 in (16.5 × 16.5 cm) after washing and drying flat. The sample gauge is 4 single crochet stitches and 5 rows per inch.
Materials & Supplies Needed
- Yarn: About 90–100 yd (82–91 m) of worsted-weight (#4) 100% cotton yarn. One solid color is simplest for a first cloth; a second color can be used for the final row if you have enough yardage.
- Hook: 5.0 mm / H-8 crochet hook. Use the hook that gives you the stated gauge; a tight crocheter may need to go up one hook size.
- Notions: Tapestry needle for weaving in the starting and finishing tails, scissors, and a stitch marker for keeping track of row edges.
- Substitutions: Cotton or a cotton-linen blend in a similar worsted weight is suitable. A thinner yarn makes a smaller, lighter cloth; a thicker yarn makes a larger, bulkier cloth and may need a larger hook. Acrylic is less absorbent than cotton, so it is not the closest substitute for a washcloth.
Stitch Guide & Abbreviations (US Terms)
- ch: Chain. Yarn over and pull through the loop on the hook.
- sc: Single crochet. Insert the hook in the stitch, yarn over and pull up a loop, then yarn over and pull through both loops on the hook.
- st(s): Stitch or stitches.
- rep: Repeat the stated sequence.
- RS: Right side, the face you choose to show.
- WS: Wrong side, the opposite face.
- Turning chain: The chain made at the beginning of a row to bring the hook to working height. In this pattern, ch 1 does not count as a stitch.
Work into the top loops of each stitch unless the instructions say otherwise. Keep the turning chain separate from the first stitch, since counting it as a stitch would make the cloth wider at the edges.
Step-by-Step Pattern Instructions
Washcloth
With worsted cotton and a 5.0 mm hook, chain loosely enough that the foundation edge does not pull inward. The pattern is worked flat. Turn at the end of each row.
- Row 1: Ch 27. Sc in the second ch from the hook and in each ch across. The first 1 ch does not count as a stitch. (26 sts)
- Row 2: Ch 1 and turn. Sc in each st across, working the first sc into the first stitch directly beneath the turning chain. (26 sts)
- Rows 3–32: Rep Row 2. Each row has 26 sc. (26 sts per row)
Finishing
After Row 32, fasten off, leaving a tail of about 6 in (15 cm). Pull the tail through the final loop to secure it. Thread the tail onto a tapestry needle and weave it through several stitches on the WS, then change direction and weave through a few more stitches so it is less likely to work loose during washing. Weave in the foundation tail the same way.
Check the side edges before trimming the tails. They should be mostly straight, with 26 stitches across every row. If the cloth curls slightly, wet it with cool or lukewarm water, press out excess water in a towel, and lay it flat to dry. Measure it after drying; cotton can relax and change shape slightly when wet.
Care & Washing Instructions
- Wash cotton yarn by hand or machine in cool to warm water, up to 40°C (104°F), unless the yarn label gives different instructions.
- Lay flat to dry or tumble dry on low only if the yarn label allows it; avoid high heat, which can shrink cotton.
- Reshape the damp cloth by smoothing its edges and corners flat; formal blocking is not needed for everyday use.
Pro Tips & Common Mistakes to Avoid
- Keep the foundation relaxed. A tight starting chain can make the bottom edge narrower than the top. If your chain feels stiff, use a hook half a millimeter larger just for the foundation chain.
- Count the edge stitches. Place a marker in the first stitch of each row, or count all 26 stitches before turning. Missing the last stitch gradually narrows the cloth; adding a stitch at the turning chain makes it wider.
- Hide the tails securely. Weave each end through the back of several stitches, then change direction. Do not knot the yarn at the edge, since a knot can feel rough and may loosen with repeated washing.
- Adjust size in even steps. For a wider cloth, add chains to the foundation; each extra chain adds one stitch and roughly ¼ in (6 mm) at the stated gauge. Add rows for extra length. Larger dimensions use more yarn, so keep an extra 15–25 yd (14–23 m) on hand for noticeable increases.
Frequently Asked Questions
Can I use a different yarn fiber?
Yes, but cotton is the best fit for an absorbent cloth that can be washed often. A cotton-linen blend has a slightly firmer feel. Acrylic will work as a practice swatch or decorative cloth, but it is less absorbent and may not feel as useful for washing.
How can I make the washcloth larger or smaller?
Change the foundation chain to adjust the width, keeping one fewer single crochet than the number of chains. Add or remove rows to adjust the length. Recheck the fabric after a few rows because a different hook or yarn can change the finished measurements.
Is this pattern suitable for a first crochet project?
Yes. It uses only chains and single crochet, and every row has the same stitch count. Focus on placing the first and last stitches correctly; those are the spots where beginners most often lose or add a stitch.
May I sell washcloths made from this pattern?
You may sell finished items only if the pattern designer’s terms allow it. Credit the designer when required, and do not redistribute or repost the pattern itself without permission.
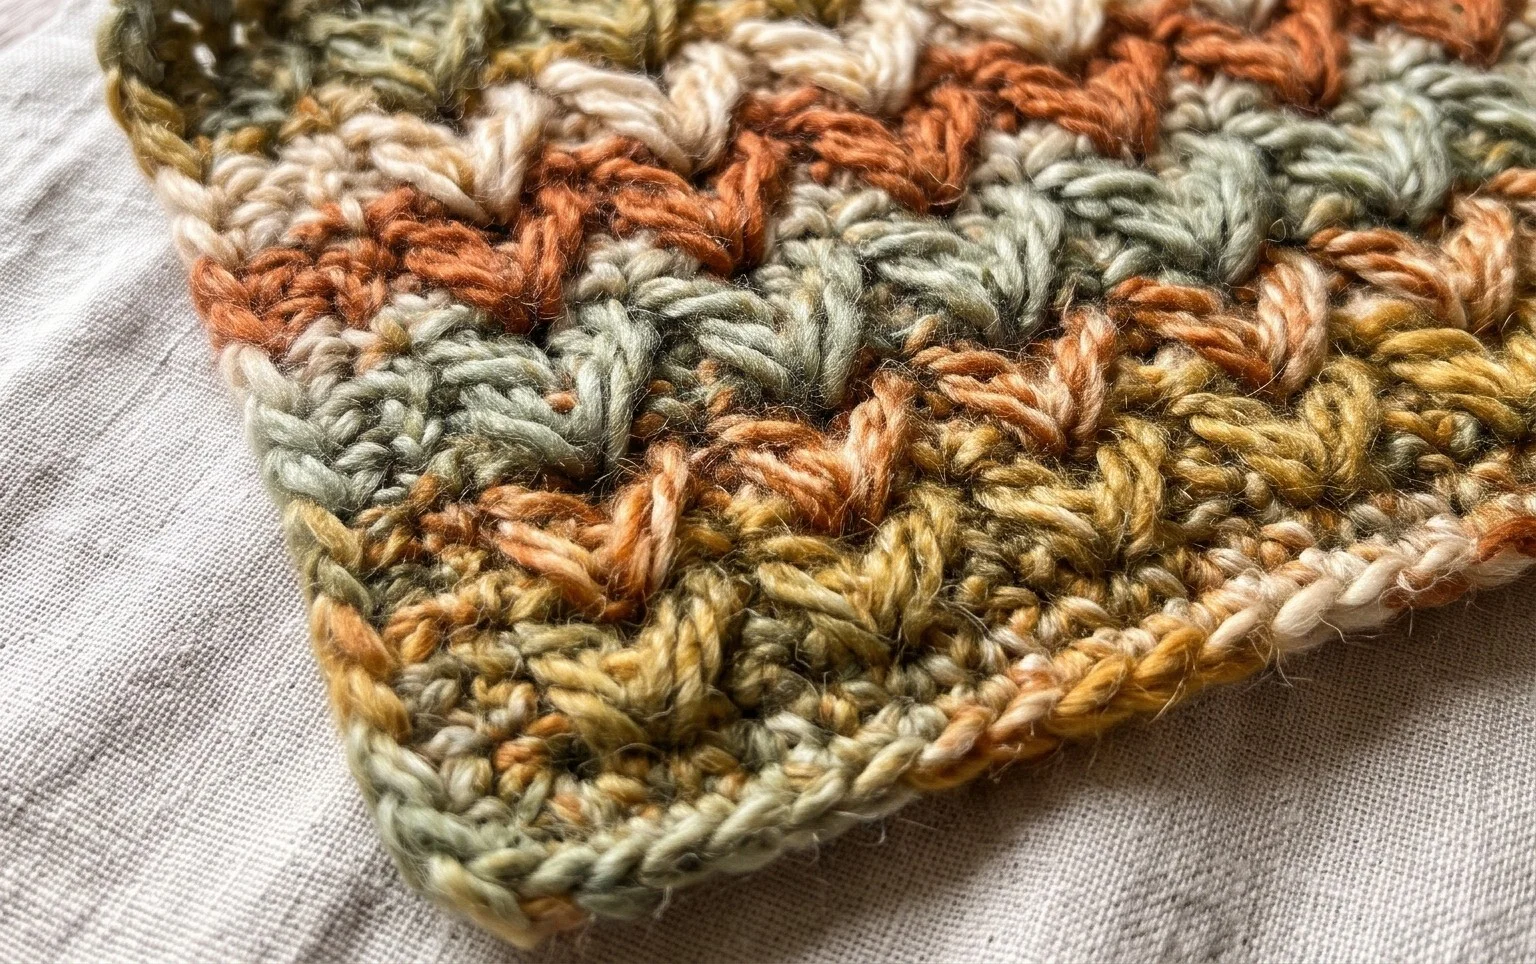
Once the raised columns begin to line up, you will have a textured fabric that feels soft in the hand and gives a simple project a bit of depth. Try the Alpine stitch in two alternating colors if you want the ridges to stand out more, or keep one shade for a quieter look. A worsted-weight yarn makes a sturdy swatch, while a softer blend can work nicely for a scarf or cushion cover. Share a photo of your finished piece on Pinterest or your favorite social platform, and explore more free crochet patterns on the blog when you are ready to choose your next project.