Easy Crochet Coaster Free Pattern: Step-by-Step Guide
These cotton coasters sit firmly on a side table with a dense, fabric-like texture that reliably catches condensation from a cold glass. The simple spiral design makes this project accessible for anyone new to crochet, while the quick completion time keeps the process rewarding for more experienced hands. You will rely on a basic magic ring and consistent increases to keep the shape circular without any annoying ruffles or curling edges. Working through this small-scale item helps you master round construction while finishing a functional piece for your home decor in about thirty minutes.
Why You’ll Love This Pattern
This beginner-friendly crochet coaster pattern provides a practical way to protect your furniture while practicing fundamental stitch techniques. The design relies on a consistent spiral construction that lies perfectly flat, preventing the common issue of curling edges found in more complex patterns. Because each coaster requires only a small amount of yarn, it serves as an efficient project for using up leftover cotton scraps from larger makes. Completing a full set of four takes approximately two hours, making it a reliable choice for last-minute handmade gifts.
I managed to whip up a matching set of these in a single afternoon. The instructions were easy to follow and the final result sits completely flat on my coffee table without any bunching.
— Sarah, home crafter
Pattern Overview & Skill Level
- Skill Level: Beginner
- Approximate Time: 30 minutes per coaster
- Construction: Worked in continuous rounds from a center magic ring with increases to maintain a flat circle
- Finished Dimensions & Sizing: 4 inches in diameter
Materials & Supplies Needed
- Yarn: Worsted weight (#4) 100% cotton yarn, approximately 15 yards per coaster. Cotton is necessary for heat resistance and absorbency.
- Hook Size: 5.0 mm (H-8) crochet hook.
- Notions needed: Tapestry needle for weaving in ends, scissors, and a stitch marker to track the start of rounds.
- Safe yarn substitutions: Acrylic yarn can be substituted for decorative purposes, though it will not absorb moisture as effectively as cotton. Using a lighter weight yarn (DK #3) will result in a smaller coaster; adjust your hook size down to 4.0 mm if choosing a lighter weight.
Stitch Guide & Abbreviations (US Terms)
- MR: Magic Ring. A method to start rounds by crocheting into an adjustable loop.
- ch: Chain stitch.
- sc: Single crochet. Insert hook, yarn over, pull up loop, yarn over, pull through both loops on hook.
- inc: Increase. Work 2 sc into the same stitch to add count.
- sl st: Slip stitch. Insert hook, yarn over, pull through stitch and loop on hook to join.
- st(s): Stitch(es).
Step-by-Step Pattern Instructions
Coaster Body
- Rnd 1: Start with a MR. Work 6 sc into the ring. Pull the tail tight to close the center. (6 sts)
- Rnd 2: Work 2 sc in each sc around. (12 sts)
- Rnd 3: 1 sc in next st, inc in next st repeat from * to * 6 times. (18 sts)
- Rnd 4: 1 sc in next 2 sts, inc in next st repeat from * to * 6 times. (24 sts)
- Rnd 5: 1 sc in next 3 sts, inc in next st repeat from * to * 6 times. (30 sts)
- Rnd 6: 1 sc in next 4 sts, inc in next st repeat from * to * 6 times. (36 sts)
- Rnd 7: 1 sc in next 5 sts, inc in next st repeat from * to * 6 times. (42 sts)
Finishing
After completing Rnd 7, work 1 sl st into the next stitch to smooth the transition. Fasten off the yarn, leaving a 4-inch tail. Use your tapestry needle to weave the tail through the back of the stitches to secure it. Trim any excess yarn flush with the fabric.
Care & Washing Instructions
- Machine wash your cotton coasters in cool water on a gentle cycle to prevent shrinking.
- Lay the coasters flat on a towel to air dry, reshaping them with your hands while damp.
- If the coasters lose their shape over time, lightly steam them with an iron set to the cotton temperature setting while pulling the edges gently outward.
Pro Tips & Common Mistakes to Avoid
Maintain consistent tension throughout the rounds; if your stitches are too loose, the coaster will look gapped, but if they are too tight, the fabric will curl. Always place a stitch marker in the first stitch of every round to keep track of your count, as it is easy to lose your place in a continuous spiral. Weave your ends in multiple directions through the back loops of the stitches to ensure they do not come undone during washing. If you want to make a larger coaster, continue the increase pattern by adding one additional single crochet between each increase in every subsequent round, though you will need more yardage.
Frequently Asked Questions
Can I use a different yarn weight for this project?
Yes, you can use any weight yarn, but you must match your hook size to the yarn label recommendations. Keep in mind that thinner yarn will require more rounds to reach a 4-inch diameter, while thicker yarn will reach that size faster.
How do I prevent the center of the coaster from having a hole?
Pull the tail of your magic ring very firmly before you begin the second round. If a small gap remains, use your starting tail and a tapestry needle to stitch across the back of the center ring to pull it closed tightly.
Are these coasters safe to sell at craft fairs?
Yes, you are free to sell items made from this pattern. Check the specific policies of the yarn brand you use if you wish to include branding information on your packaging.
Why is my coaster curling up like a bowl?
Curling usually happens if your tension is too tight or if you missed an increase in one of the rounds. Check your stitch counts for each round to ensure you have the correct number of increases as listed in the instructions.
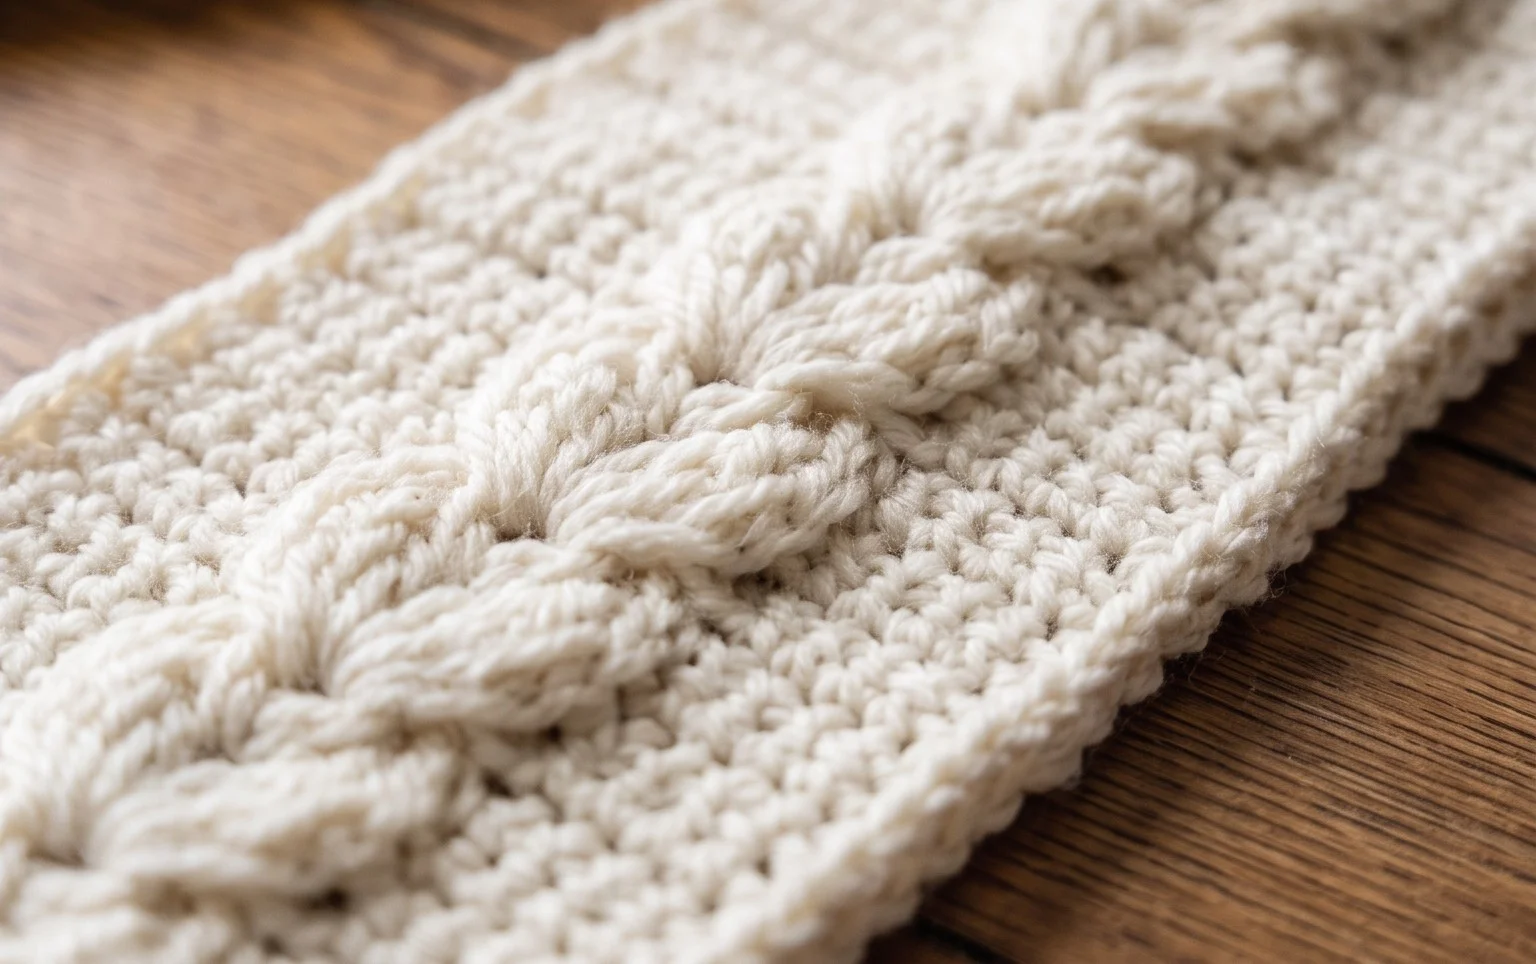
A stack of these handmade coasters provides a clean look for your coffee table and protects wood surfaces from water rings. You can customize the look by using two strands of yarn held together for a thicker, chunkier texture or by striping contrasting colors to use up your smallest bits of scrap cotton. Please tag your finished photos on social media so others can see your color choices. Explore the full library of free patterns on the blog to find your next afternoon craft project.