Easy Crochet Ribbed Beanie: Free Beginner Pattern
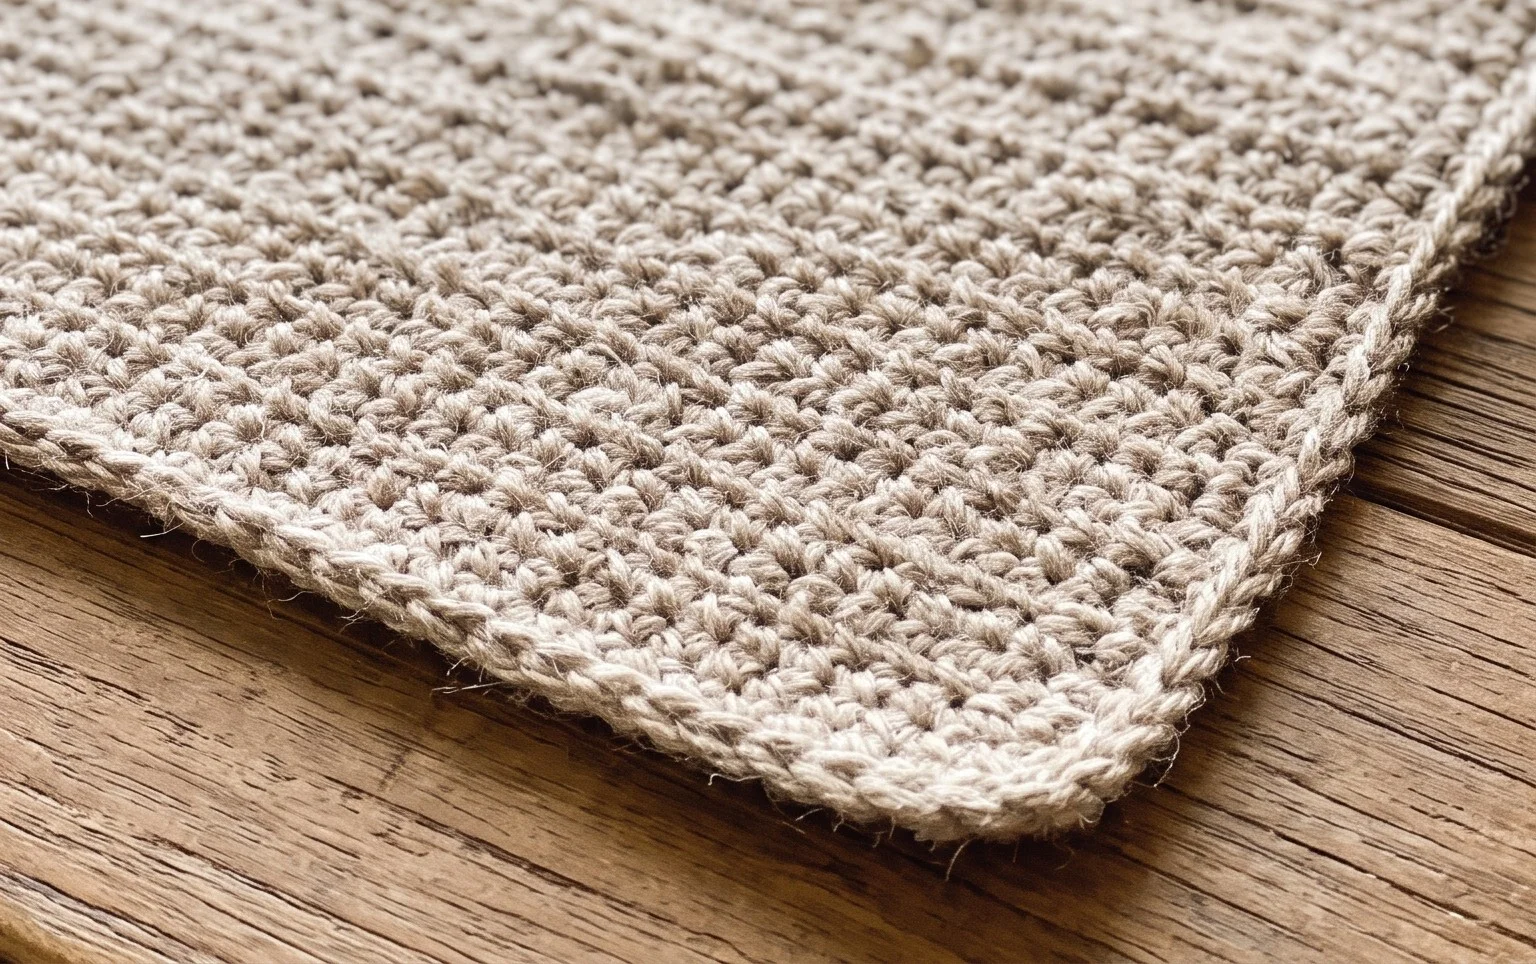
This ribbed beanie creates a snug, warm fabric that feels just like professional knitwear when you finish it. The dense texture comes from working in the back loops only, which provides the stretch needed for a comfortable fit on any adult head. Beginners will find the process straightforward because it relies on a single repeating stitch and a simple rectangular shape that grows row by row. Working on this project allows you to practice your tension while producing a handmade gift in just a few hours. It is a satisfying way to start your year with crochet.
Why You’ll Love This Pattern
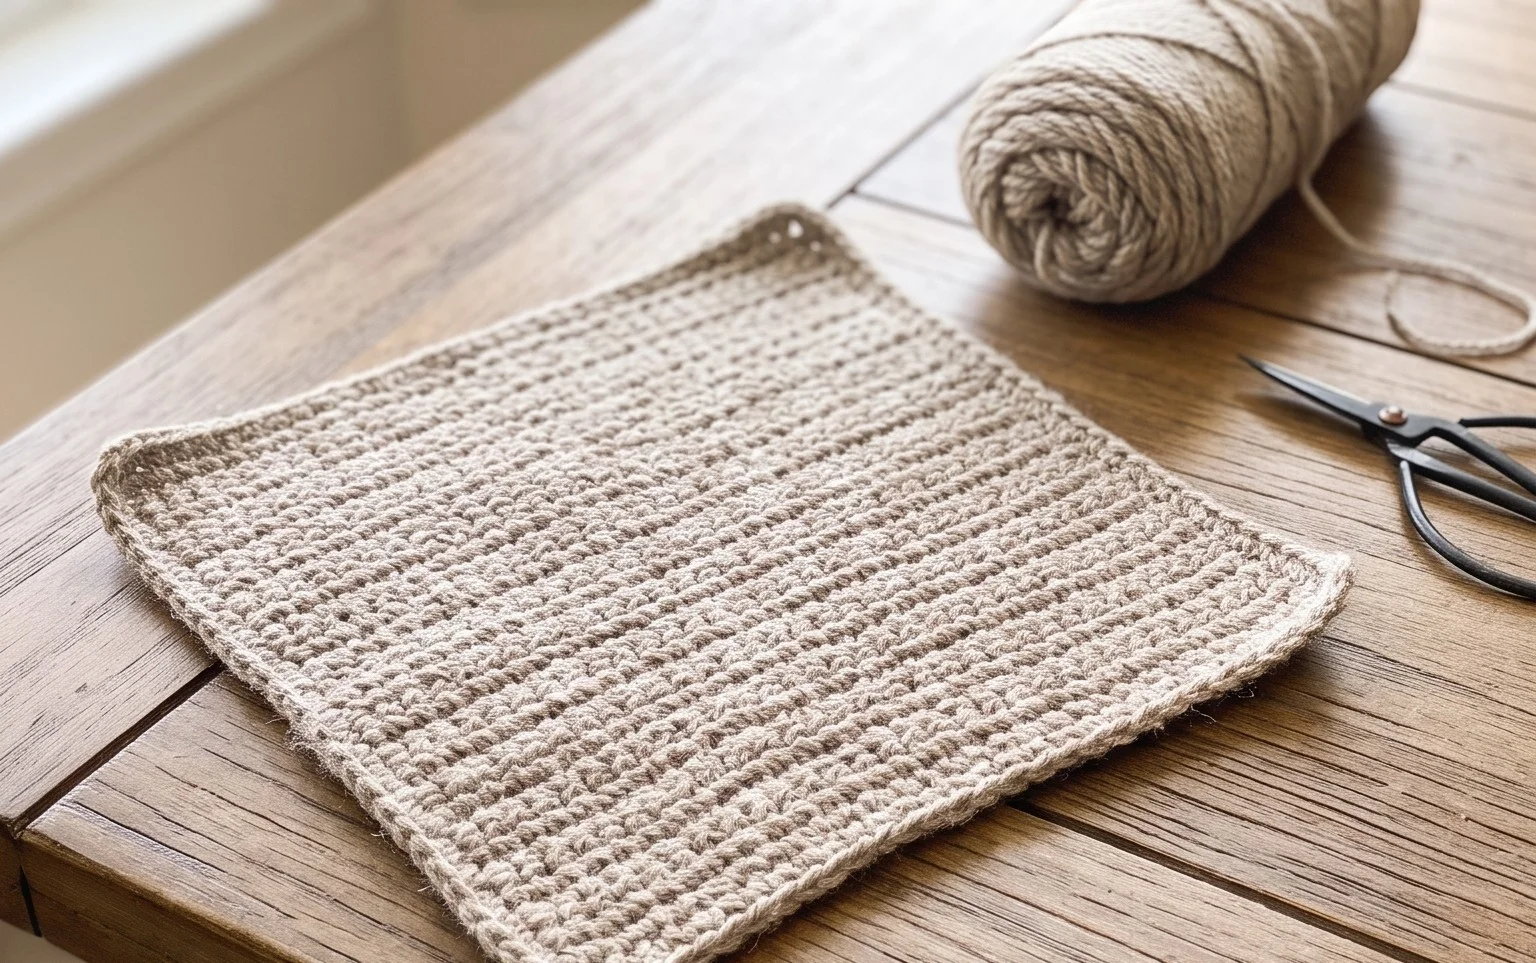
This crochet ribbed beanie relies on a simple, rhythmic construction that works from the bottom up in a single rectangular panel. By utilizing back loop only single crochet stitches, the fabric gains an elastic, knit-like texture that hugs the head comfortably without losing its shape over time. Because the design uses a basic stitch pattern and simple rectangular geometry, it serves as an ideal project for those looking to practice tension control or produce a finished gift in a single evening. The resulting beanie is dense enough to provide warmth during winter while remaining breathable enough for cool autumn afternoons.
I finished this hat in one night while watching a movie. The ribbing is stretchy and looks exactly like store-bought knitwear, which made it the perfect gift for my brother.
— Sarah, hobbyist crocheter
Pattern Overview & Skill Level
- Skill Level: Beginner
- Approximate Time: 3 to 4 hours
- Construction: Flat rectangular panel worked in rows, folded, and seamed to form a tube.
- Finished Dimensions: 18 inches circumference (unstretched), 9 inches height. Fits an average adult head.
Materials & Supplies Needed
- Yarn: Worsted weight (#4) wool or acrylic blend. Approximately 200 yards.
- Hook Size: 5.5 mm (US I-9).
- Notions: Tapestry needle, locking stitch markers, and a pair of scissors.
- Yarn Substitutions: You may use cotton yarn, though it will result in a heavier hat with less natural elasticity. Wool blends provide the best bounce and warmth for this pattern.
Stitch Guide & Abbreviations (US Terms)
- ch = chain
- sc = single crochet
- st/sts = stitch/stitches
- BLO = back loop only (insert hook under the back loop of the stitch instead of both loops)
- sl st = slip stitch
- Turning ch = chain 1 at the start of a row (does not count as a stitch)
Step-by-Step Pattern Instructions
Main Body Panel
Work back and forth in rows to create a large rectangle. The number of chains determines the height of the hat; if you prefer a slouchy fit, add 10 extra chains to your starting foundation.
- Row 1: Ch 41. Sc in the second ch from hook and in each ch across. Turn. (40 sts)
- Row 2: Ch 1, working in BLO, sc in each st across. Turn. (40 sts)
- Rows 3–60: Repeat Row 2 until the piece measures approximately 18 inches in length when laid flat.
Assembly and Finishing
Once you reach the desired length, fasten off, leaving a 20-inch yarn tail for seaming.
- Fold the rectangle in half by bringing the two short ends together, matching the stitches.
- Using the tapestry needle and the long yarn tail, whip stitch the two edges together to create a tube.
- Secure the yarn and turn the tube inside out so the seam sits on the interior.
- Use the remaining tail to weave in and out of the stitches along the top edge of the tube. Pull the yarn tight to cinch the top closed, forming the crown of the hat.
- Secure with a knot and weave in all remaining ends on the inside of the fabric.
Care & Washing Instructions
- Hand wash in cool water using a mild wool-safe detergent to maintain the integrity of the fibers.
- Do not wring out the beanie; instead, roll it in a clean towel to absorb excess moisture.
- Lay the hat flat on a dry towel and reshape it to its original dimensions, allowing it to air dry completely away from direct heat sources.
Pro Tips & Common Mistakes to Avoid
- Consistency is key: Keep your tension even throughout the rows to prevent the rectangle from bowing or becoming uneven at the edges.
- Start with a stitch marker: Place a marker in the first stitch of every row to ensure you do not accidentally skip the final stitch, which keeps the edges perfectly straight.
- Weaving ends: Always weave your ends in the direction of the ribbing pattern. This hides the tail within the dense stitches, making the join invisible to the eye.
- Adjusting for size: To make the hat smaller, work fewer rows; to make it larger, work more rows. Each set of 3 rows adds approximately one inch to the total circumference.
Frequently Asked Questions
Can I use a chunky weight yarn instead?
You can, but you will need to adjust your starting chain length and reduce the total number of rows. A heavier yarn will work up faster but will result in a thicker, less flexible fabric.
Is this pattern suitable for someone who has never crocheted before?
Yes, this pattern only requires the single crochet stitch and the back loop technique. As long as you can maintain a consistent chain and count your stitches per row, you will find this project manageable.
How do I know if the hat will fit correctly?
The fabric is designed to stretch significantly. If you wrap the rectangle around your head before seaming, it should feel snug but comfortable. If it feels too loose, remove a few rows before joining.
Am I allowed to sell hats made from this pattern?
You may sell finished items made from this design, provided you credit the pattern origin. Please do not redistribute the written instructions or photographs as your own.
Your finished ribbed beanie provides a warm, stylish layer that you can customize by using a variegated yarn for a colorful look or a mohair blend for extra fuzziness. Wear it on chilly walks or give it to someone who appreciates handmade comfort. Share a photo of your progress on social media so others can see your color choices. You can find more free patterns for beginners throughout the archives of this blog, so feel free to browse the collection for your next project.