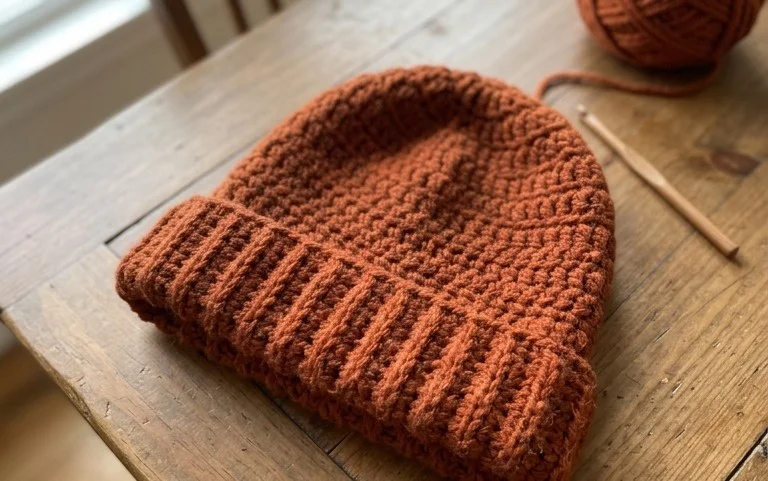
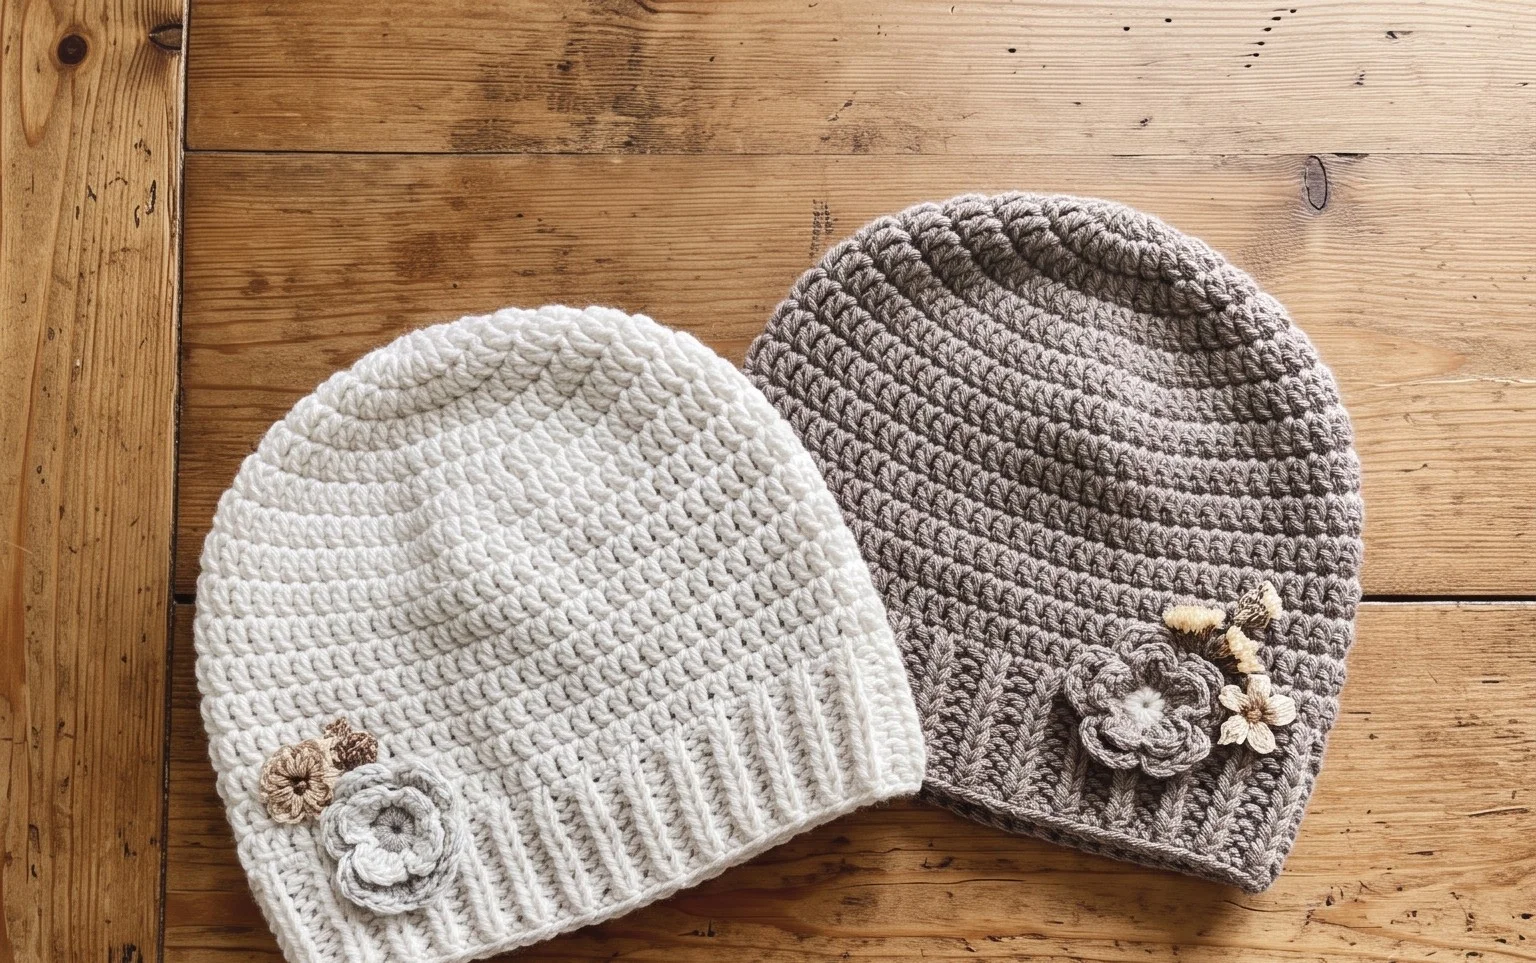
Easy Zig Zag Puff Stitch Beanie Free Crochet Pattern
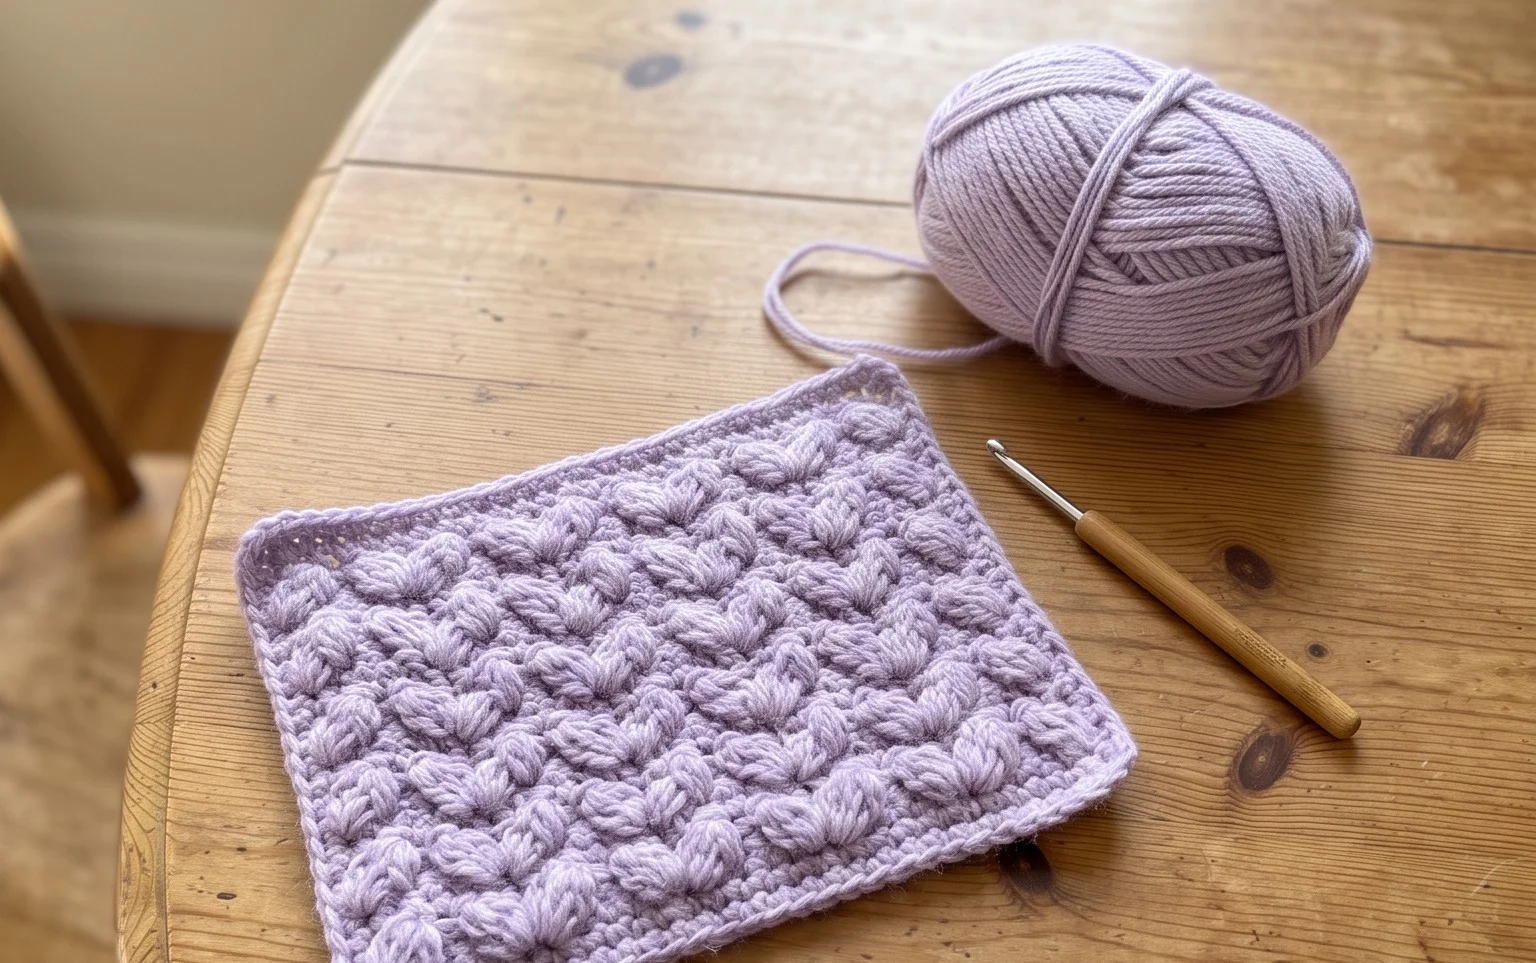
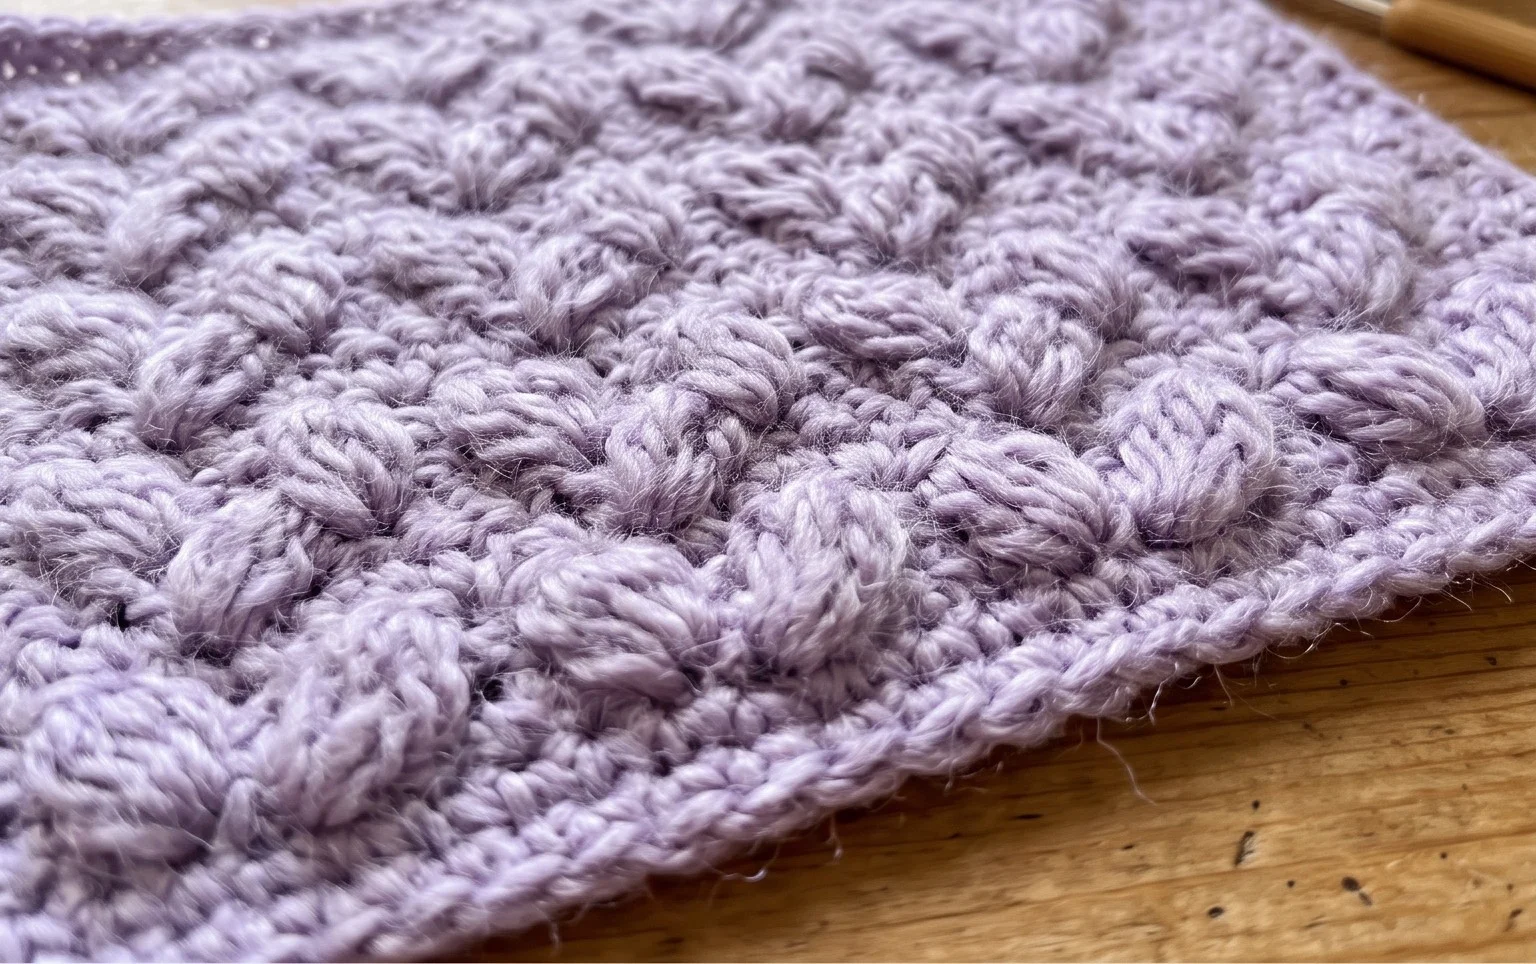
The plush, rhythmic waves of this design create a thick fabric that feels like a warm hug on a blustery afternoon. Beginners will appreciate how the repeated motion quickly turns a single ball of bulky yarn into a professional-looking accessory. This project is a great way to practice stitch height and tension, resulting in a clean, sophisticated finished look. The wavy movement of the yarn is addictive, keeping your interest from the first cast-on row until you pull the final loop through. By mastering these simple puffs, you gain the confidence to handle more complex projects later on.
Why You’ll Love This Pattern
This beginner-friendly crochet beanie relies on a simple repeating pattern of half double crochet stitches, making it an ideal choice for your first garment. Because it uses a bulky weight yarn, the project works up in just a few hours, providing an immediate sense of accomplishment. The texture is dense enough to provide real warmth while maintaining a soft, flexible drape that fits comfortably against the scalp. You will find that the rhythmic nature of the work helps with maintaining even tension, which is the most important skill for a new crocheter to master.
I finished this hat in one evening while watching a movie. The instructions were very easy to follow and it fits perfectly.
— Sarah, hobbyist crocheter
Pattern Overview & Skill Level
- Skill Level: Beginner
- Approximate Time: 3 to 4 hours
- Construction: Worked flat as a rectangular panel and seamed together to form a tube
- Finished Dimensions: 18 inches circumference (stretches to 22 inches), 9 inches height
Materials & Supplies Needed
- Yarn: Bulky #5 weight, 100% acrylic or wool blend, approximately 150 yards. A solid color highlights the stitch texture best.
- Hook Size: 6.0 mm / J-10
- Notions: Large-eye tapestry needle, stitch markers, and scissors.
- Yarn Substitutions: You can use a heavy worsted weight yarn if you hold two strands together, which will result in a slightly thicker and heavier hat. Alternatively, using a thinner yarn without doubling it will require you to increase the starting chain length and the number of rows to maintain the same finished size.
Stitch Guide & Abbreviations (US Terms)
- ch = chain
- hdc = half double crochet: Yarn over, insert hook into stitch, yarn over, pull up a loop, yarn over, pull through all three loops on hook.
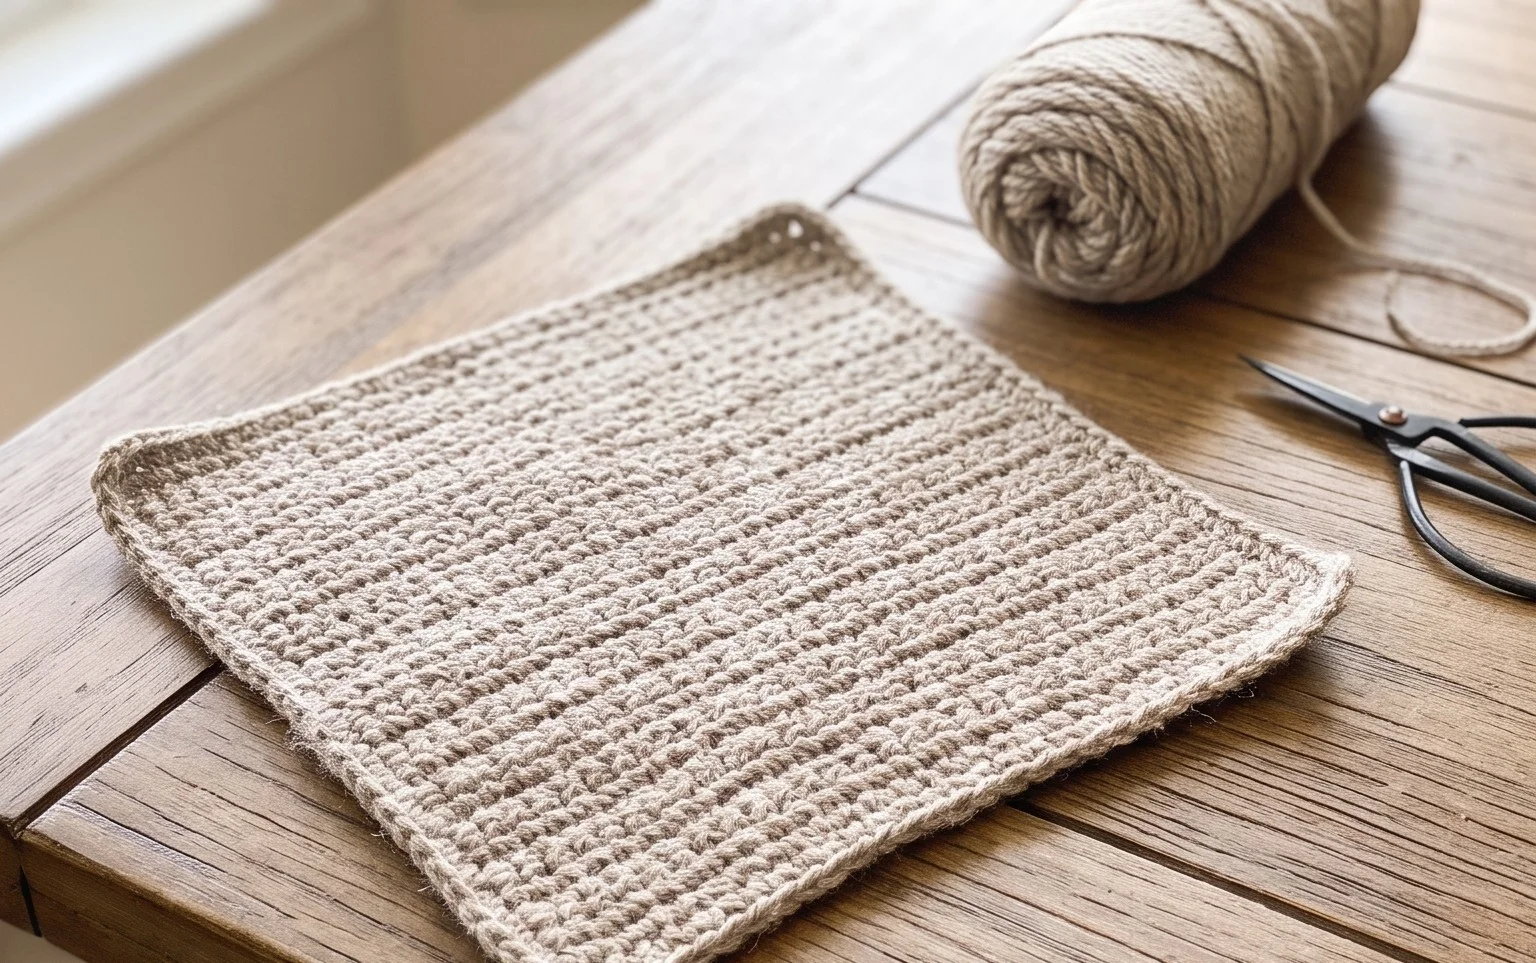
- hdc BLO = half double crochet in the back loop only: Work the hdc into the back horizontal loop of the stitch instead of under both top loops. This creates a ribbed, knit-like appearance.
- st/sts = stitch/stitches
- sl st = slip stitch
Step-by-Step Pattern Instructions
Main Body Panel
- Row 1: Ch 35. Hdc in the third ch from the hook and each ch across. (33 sts)
- Row 2: Ch 2, turn. Hdc BLO in each st across. (33 sts)
- Rows 3-45: Repeat Row 2 until the piece measures approximately 18 inches in length when slightly stretched.
Assembly and Finishing
- Fasten off, leaving a 20-inch tail of yarn for sewing.
- Fold the rectangle in half so that the short ends meet.
- Using the tapestry needle and the long yarn tail, sew the two short ends together using a whip stitch, catching the back loops of the foundation chain and the loops of the final row.
- Weave the needle through the top edge of the tube, passing through every other stitch, then pull the yarn tight to cinch the top closed. Secure with a knot.
- Turn the hat right-side out and weave in all remaining ends securely.
Care & Washing Instructions
- Hand wash your finished hat in cool water using a mild wool-safe detergent to maintain the integrity of the fibers.
- Lay the item flat on a clean towel to air dry, ensuring it is reshaped to its original dimensions while damp.
- Avoid using a tumble dryer or heavy iron, as high heat can permanently stretch or melt acrylic and felt natural fibers.
Pro Tips & Common Mistakes to Avoid
Consistency in tension is the key to a professional-looking result. If your stitches look uneven, try to consciously relax your grip on the yarn, especially when working the half double crochet stitches which can become tight as you move across the row.
Always place a stitch marker in the first stitch of every row. This prevents you from accidentally skipping the final stitch, which is a common error that causes the edges of your rectangle to slant or become uneven over time.
Weave your yarn tails in at least three different directions for a secure finish that will not unravel during washing. This is particularly important for hats that experience a lot of movement while being pulled on and off the head.
If you want to adjust the size of the hat, you can change the length of the starting chain to alter the height or add more rows to increase the circumference. Keep in mind that adding length will require more yardage, so ensure you have at least one extra skein on hand before beginning.
Frequently Asked Questions
Can I use a different yarn weight for this pattern?
Yes, but you will need to adjust your foundation chain and the number of rows. Thinner yarns will require more stitches to reach the same height and circumference, while thicker yarns will require fewer.
How do I know if the hat will fit my head?
Measure your head circumference and subtract 2 inches for positive ease. If your head is 22 inches, aim for a finished width of 20 inches, which allows the hat to stay snugly in place.
Is it okay to sell items made from this pattern?
You are welcome to sell finished items created from this pattern. Please credit the design to this tutorial and use your own original photographs for your listings.
Why does my rectangle have slanted edges?
Slanted edges usually happen when you miss the last stitch of a row or add an extra stitch at the end. Counting your stitches at the end of every row is the most effective way to prevent this.
Your finished hat brings a cozy, handmade charm to any winter wardrobe that store-bought items simply cannot replicate. If you want to customize your next version, try swapping the solid yarn for a variegated wool blend to make the texture stand out even more. Seeing your creations is the highlight of my week, so please tag me in your photos when you post them online. You can find many more simple designs for your home or your wardrobe by browsing the full archive of free patterns on my blog.